Pineapple Apple Upside Down Cake Recipe – Raw Cake Sensation
2013
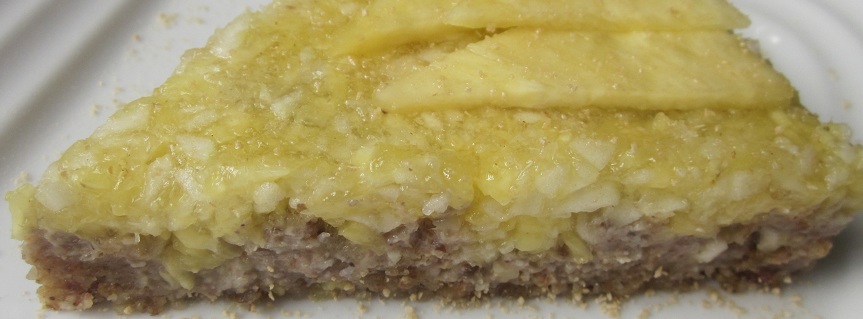
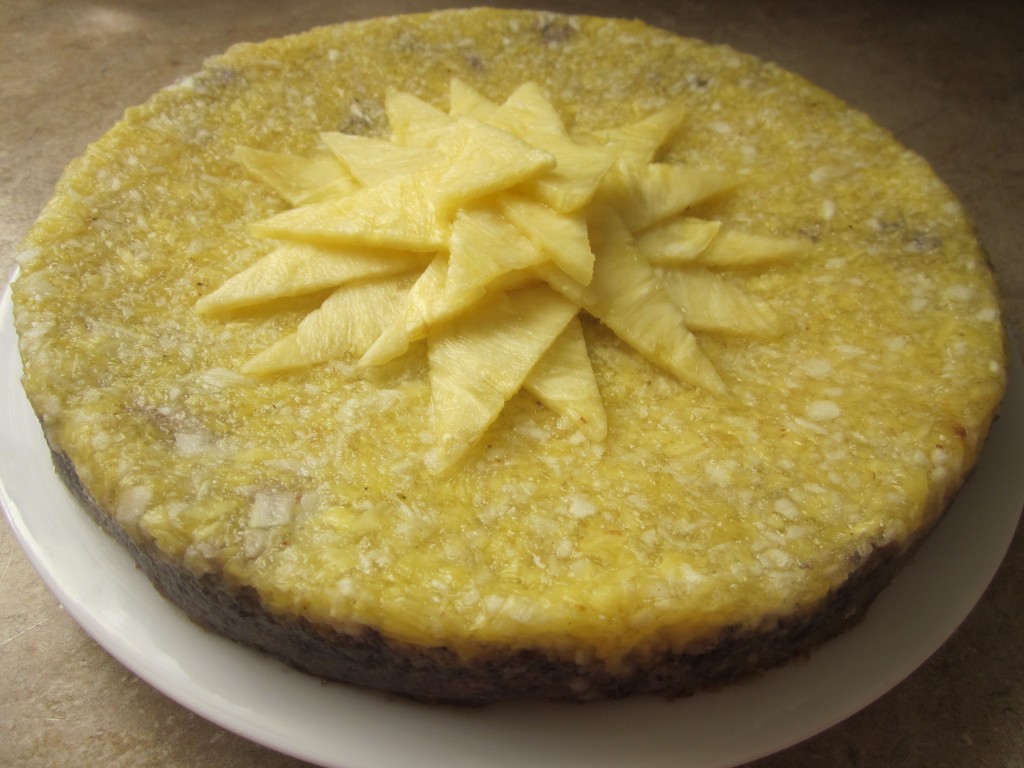
This upside down cake was a real sensation at dinner and everyone had more than they planned. Maybe it was the bright fresh tropical sun-infused fruit that felt so good to us, just coming out of winter, or maybe it was the straight from nature, nutritious raw ingredients that always make you feel good to eat. But more likely it was that it just tasted great, because it really does! This upside down cake can be made with other fruit, like berries, or peaches, and it is so easy to make.
You will be amazed at how easy it is, and I am going to guide you step by step through the process. I took my camera into the kitchen with me and have detailed pics to show you the whole (easy) process of making this delicious fruit upside down cake.
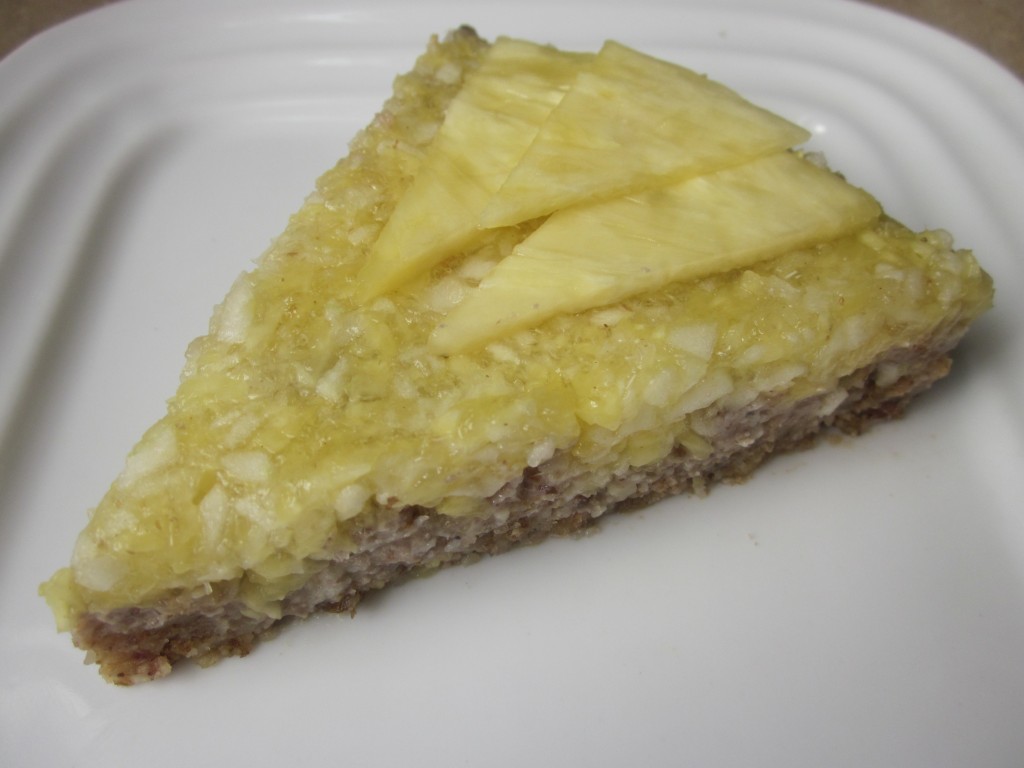
Raw cakes are a divine indulgence. They are more dense and filled with nature’s finest, most nutritious and delicious ingredients. As such, you can serve smaller pieces than with a baked flour-based cake. However, everyone had at least 2 slices of this one!
Pineapple Apple Upside Down Cake Recipe
Ingredients
Fruit Layer:
2 cups Pineapple
1 large Apple
¼ cup Agave
2 Tbsp Lemon juice
1 Tbsp Psyllium
Cake layer:
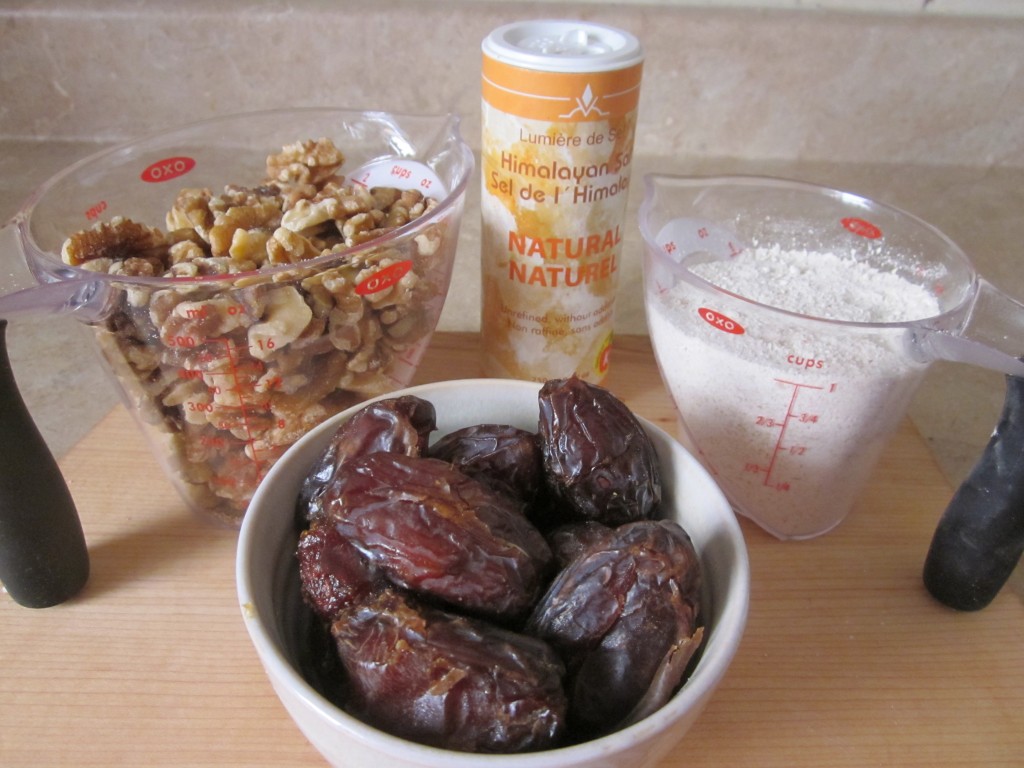
2 cups Walnuts
1 ¼ cups Oat groats – ground into flour
1 ½ cups Medjool dates – pits removed
½ tsp Salt
Directions
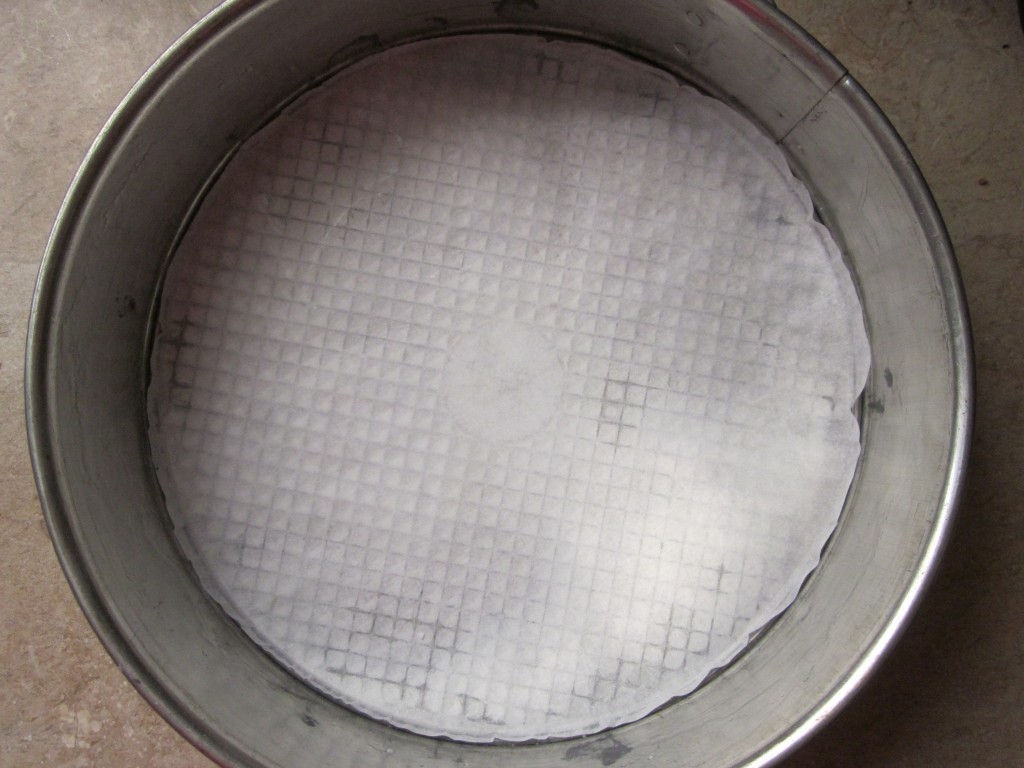
Line a cheesecake pan, one with removable sides is ideal, with parchment paper on the bottom. Draw a circle around pan on parchment. Then cut out the circle and set the circle on the bottom of the pan. Grease the sides of the pan with coconut oil.
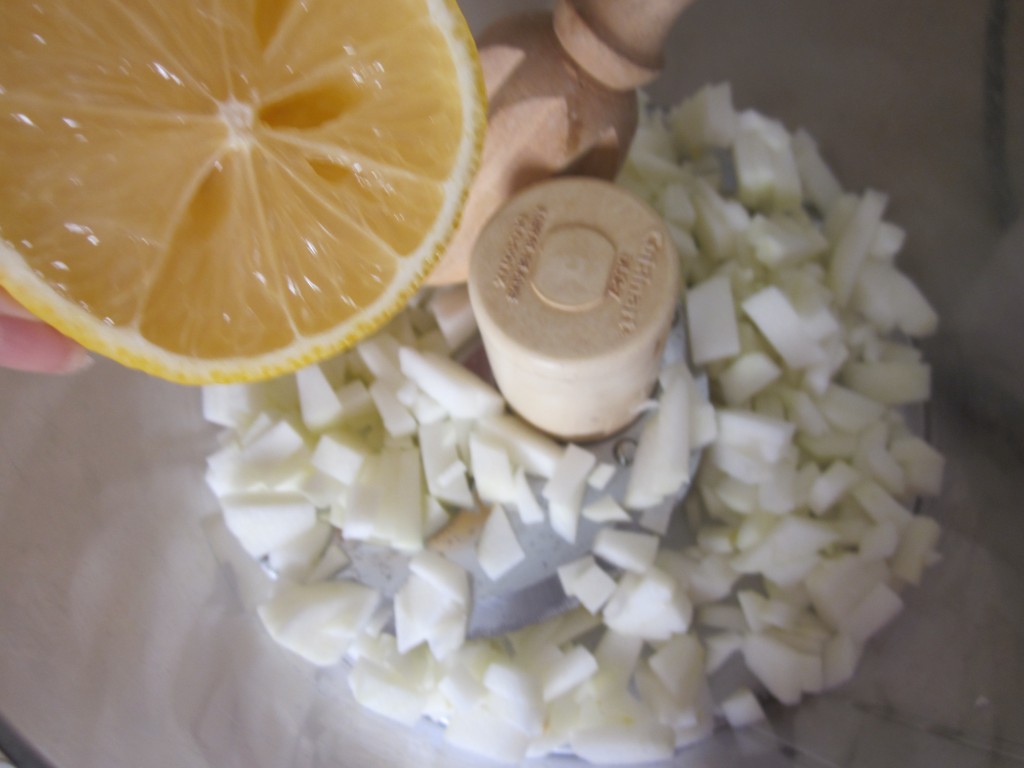
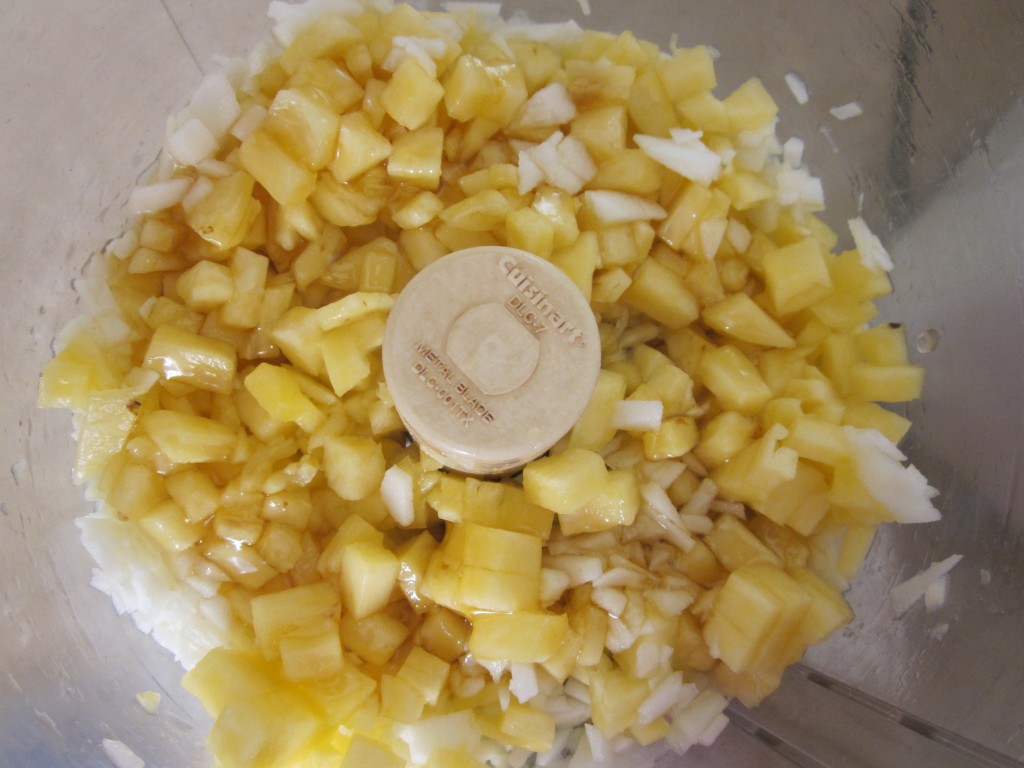
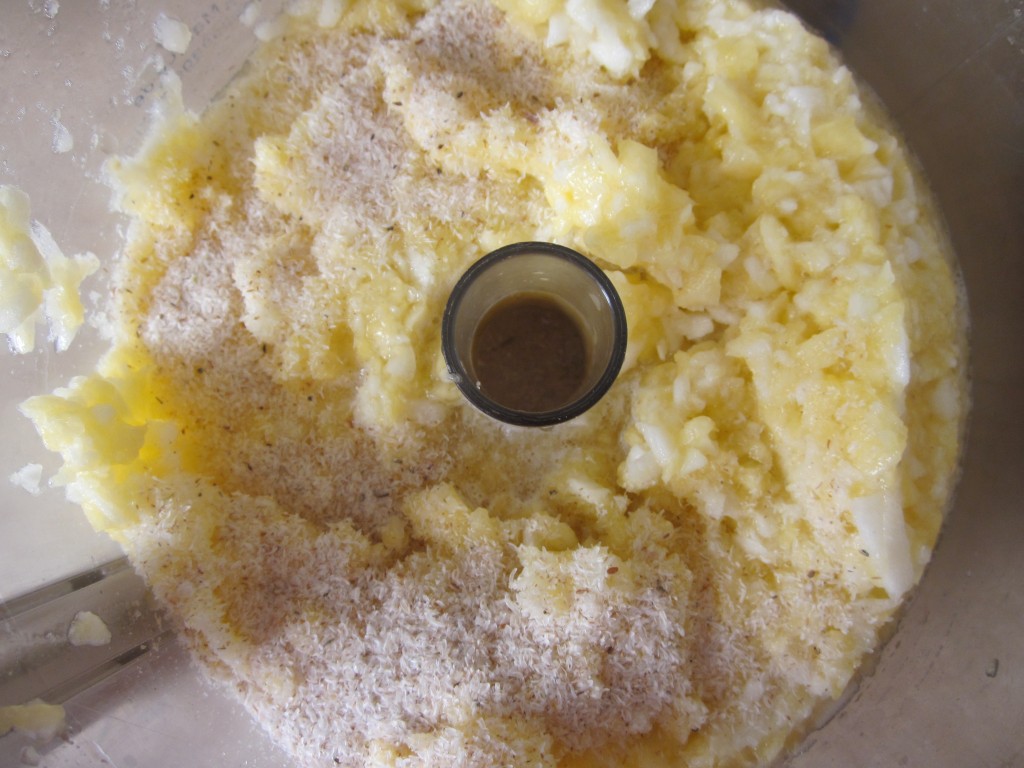
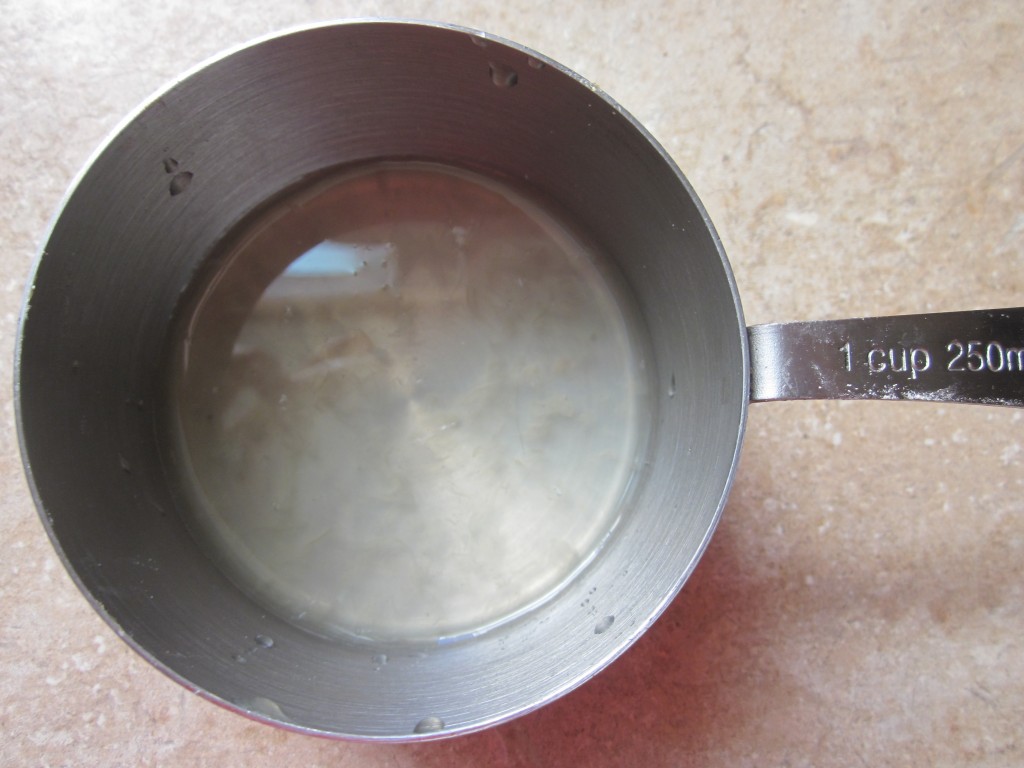
Prepare the fruit layer. Put the chopped apple into processor, pour lemon juice over and pulse chop until it is in small pieces. Next add the pineapple and then the psylium. Process slowly, stopping frequently and checking, until all fruit is in small uniform size pieces. Drain off ¼ cup of the liquid from the fruit mixture into a cup and set aside. Transfer the fruit mixture to your prepared pan. Set the pan on a plate, as a few drops may leak out around the edges of the bottom until it has set.
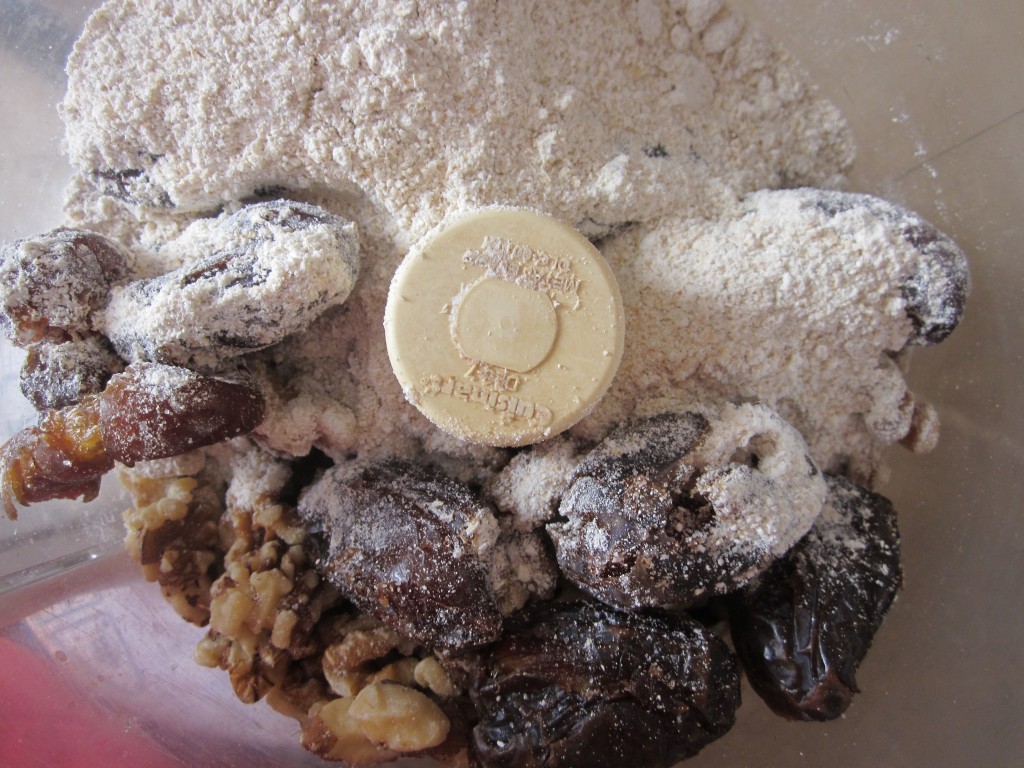
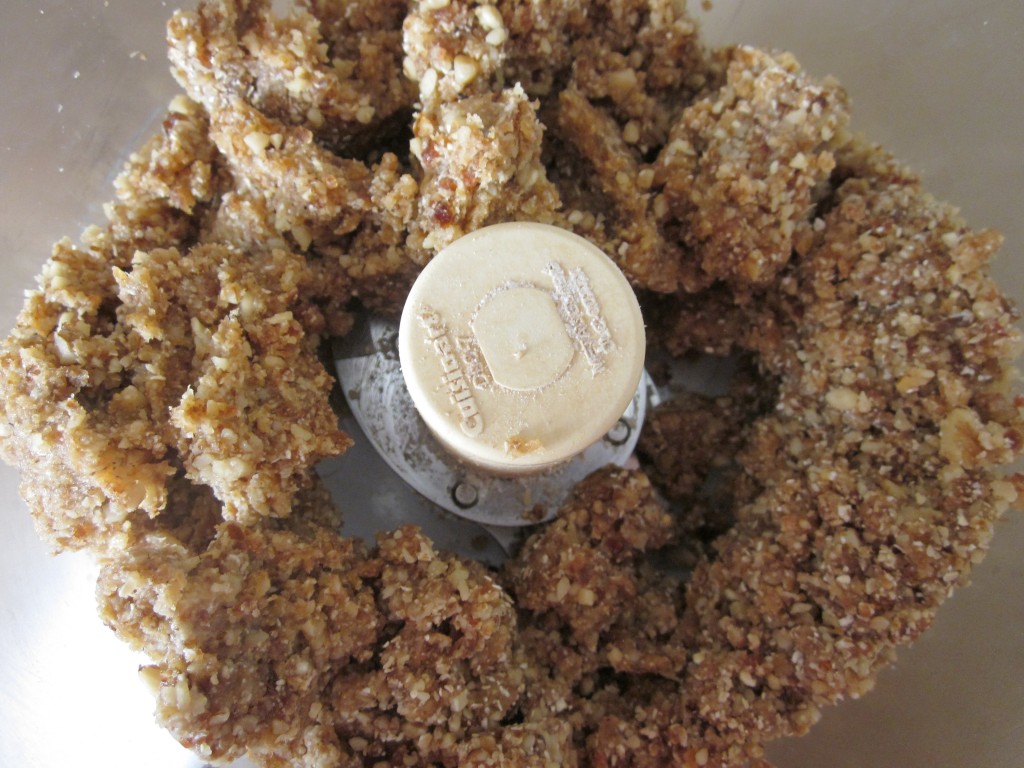
Prepare the cake layer. Put all cake layer ingredients in the processor and process until mixture starts to clump together. Pour reserved fruit liquid over mixture to help it clump together, if necessary. I used it all with mine.
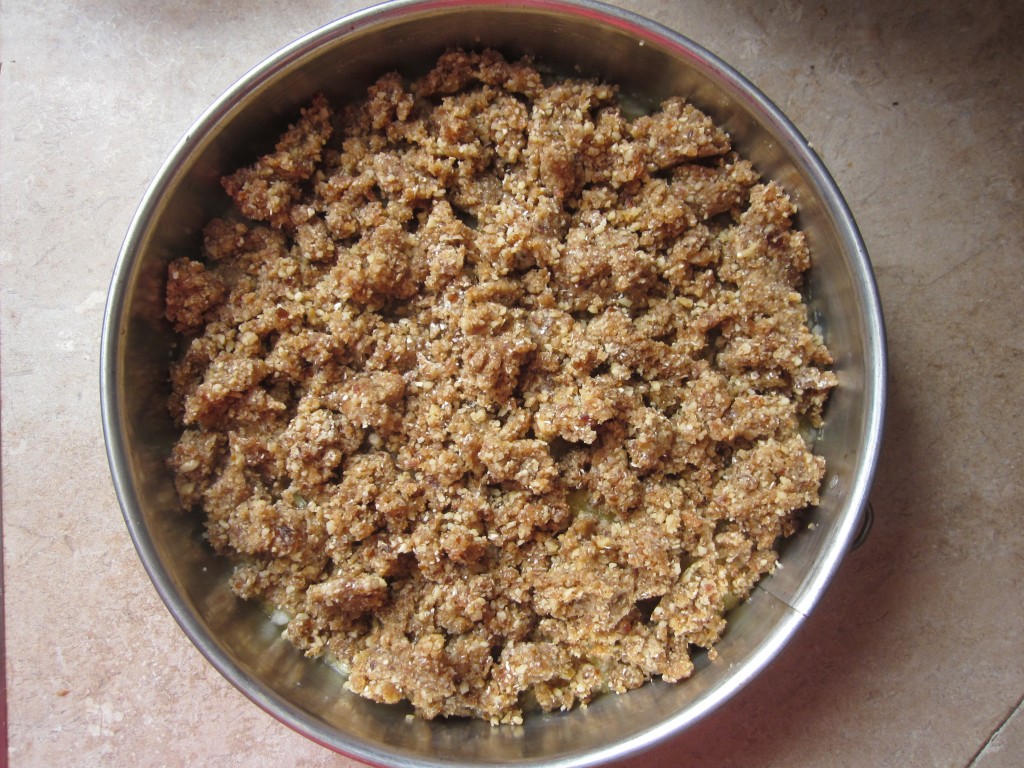
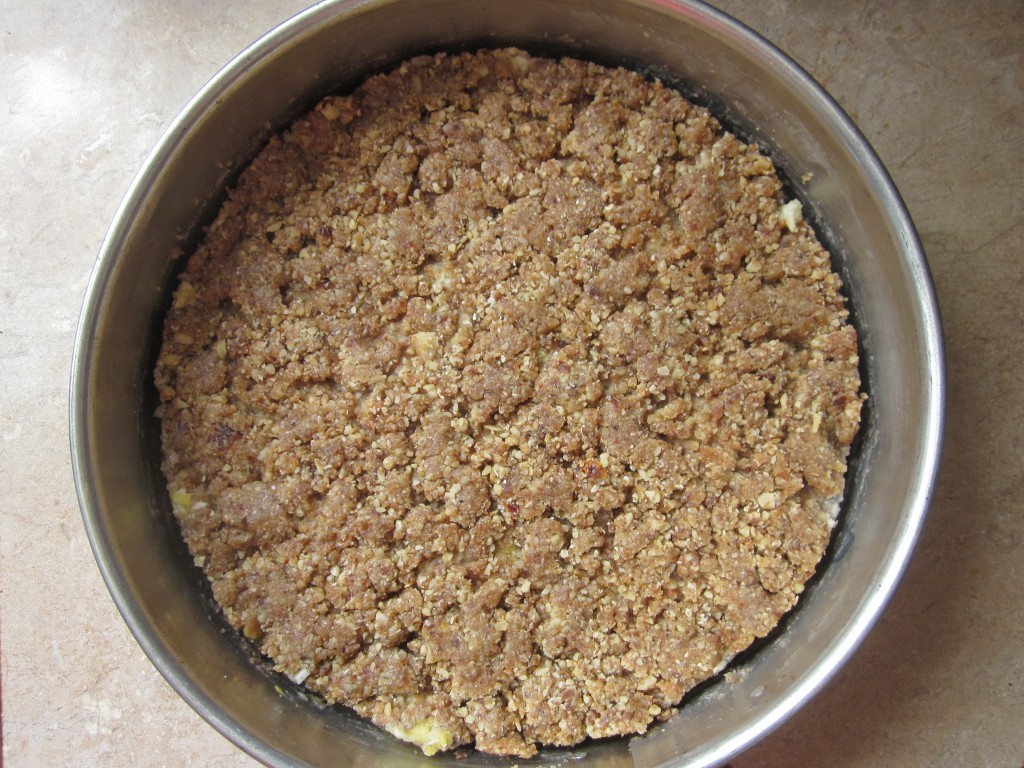
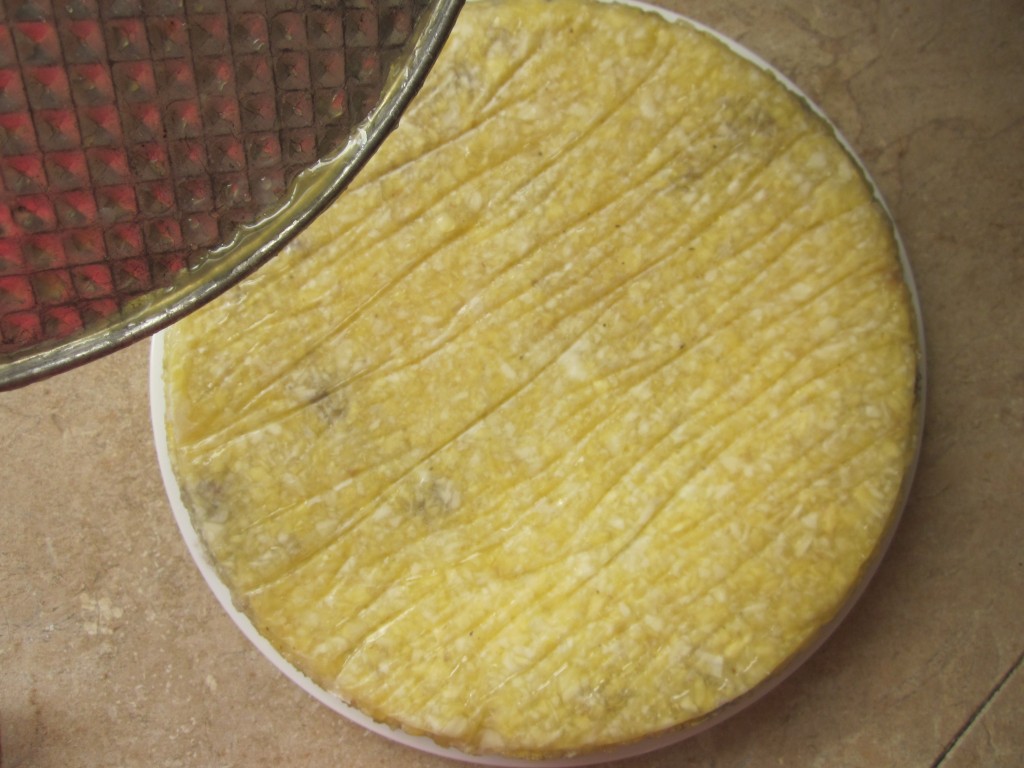
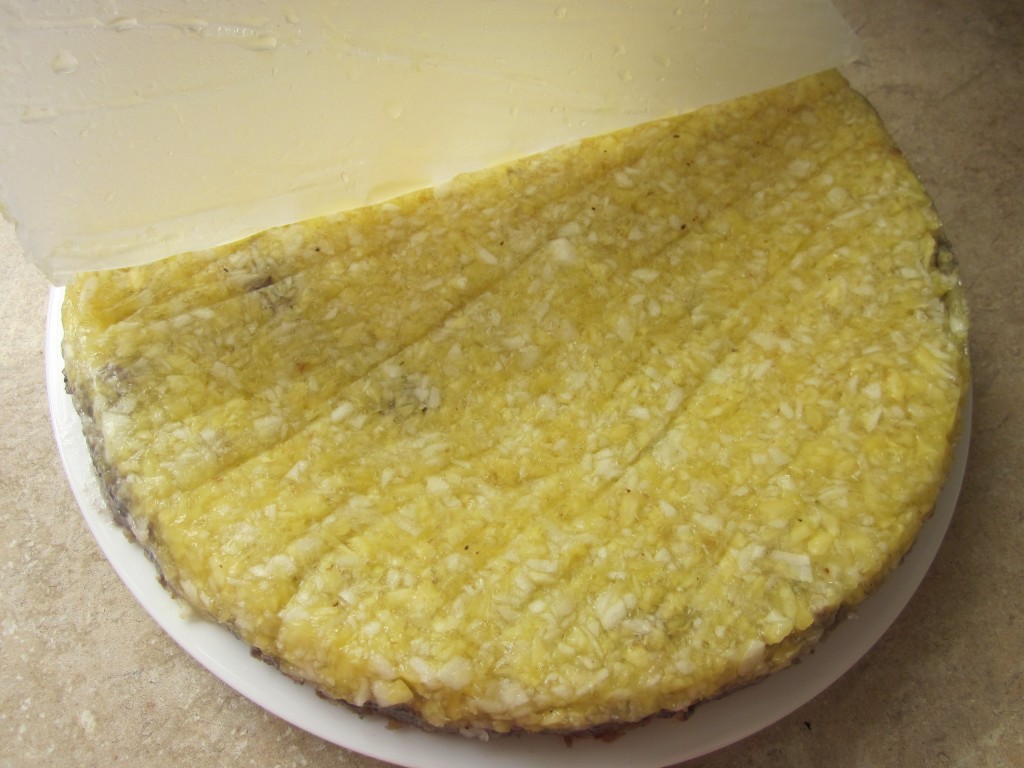
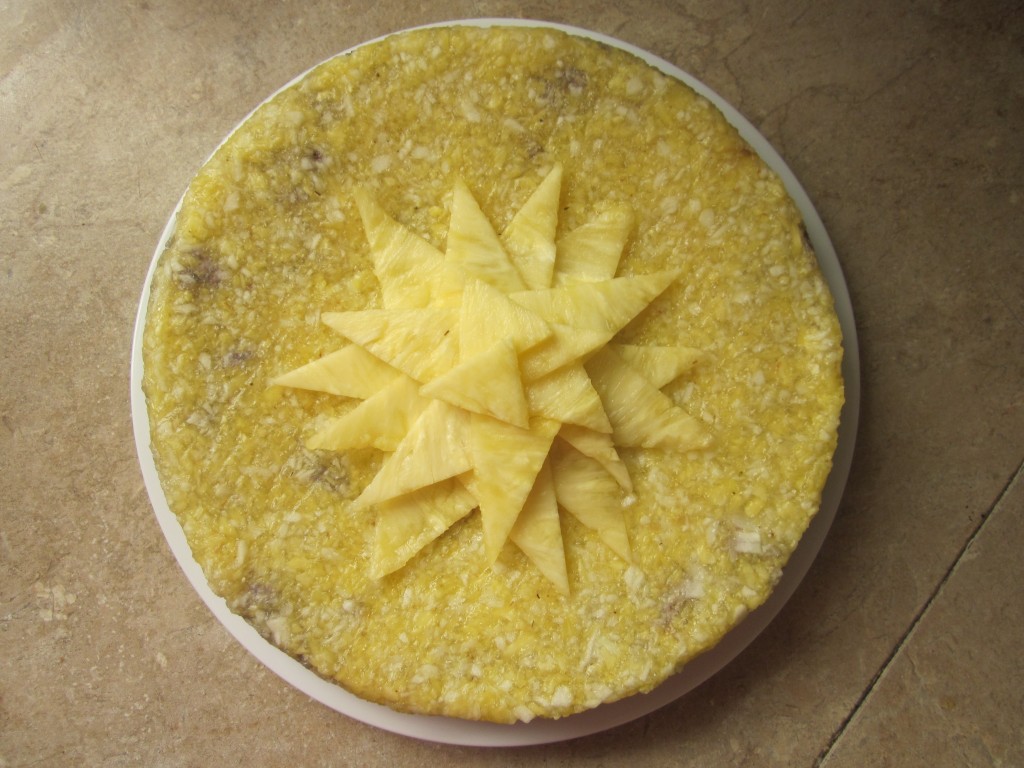
Drop small clumps of the mixture evenly over the fruit layer. Press down gently. Then set cake into the fridge to set for at least a half hour. I left mine overnight. When ready to serve, run a knife along edges and remove the tray sides. Place a plate on top and invert cake onto plate. Lift the bottom tray off and then remove parchment paper. Smooth down if necessary with a spatula and decorate, if desired with pieces of pineapple. Raspberries would add color and a sprinkle of maple sugar looks great as well.
Note: My pan was a large 10″ diameter one. I would have preferred a 8″ or 9″ pan, so that the cake would be higher. I bought an 8″ pan last night, for next time! This is just for presentation. As you can see, it works well with the 10″ pan also, and of course, it’s equally delicious!
Photo Descriptions
Line pan with parchment paper on bottom and coconut oil on sides.
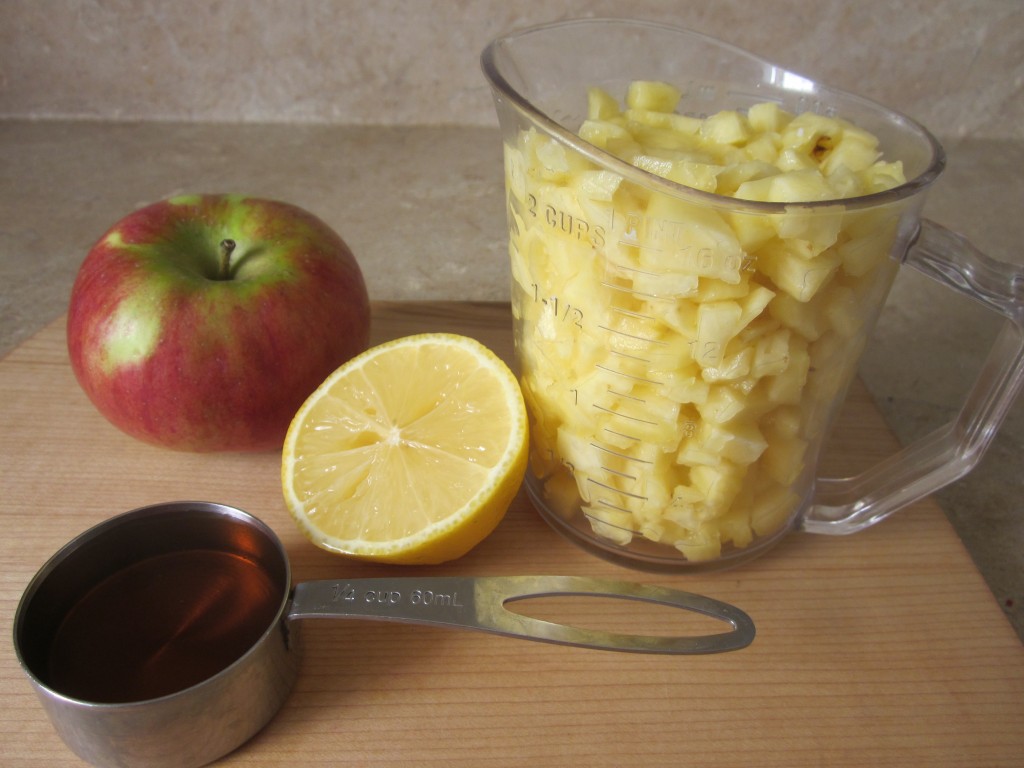
Assemble fruit layer ingredients
Put apple and lemon juice in processor.
Pulse chop apples a little and then add pineapple.
Pulse chop a bit and then add psylium and mix in.
After mixture is blended, squeeze mixture down a bit and drain off a quarter cup of liquid and set this aside.
Assemble the cake ingredients.
Place all of the ingredients in the processor.
Process until mixture just starts to clump together. Add reserved liquid if necessary to help it start to clump and hold together.
Drop clumps of the cake mixture evenly over the fruit layer.
Press down.
Remove sides of pan. Invert cake onto a plate and remove the bottom of pan.
Lift off the parchment paper.
Smooth down edges and decorate. Berries would be colorful, or decorate with pineapple slices.
Slice and serve.
