Dill Pickle Kale Chips Recipe
2013
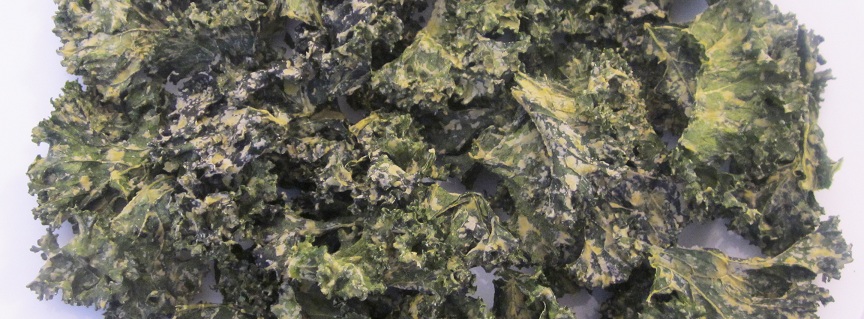
This kale chips recipe gave me a new kale chips flavor to love. Dill pickle is my new favorite kale chip flavor! Why did I not think of this before? Dill pickle has never been my favorite flavor for chips or anything before. I like dill pickles and love to put them in my burger wraps (raw burger wrapped in a leaf, a favorite Mmm), but I would never have said before that it was a favorite flavor. Well, it is now.
These kale chips are insanely good and dangerous as they can lead to cravings. I debated how to make them. I actually had some dill herb here and it would have been healthier using it. But I had something in the back of my head telling me to go a slightly unhealthier route, which rarely happens, as a sacrifice for flavor. ..and oh wow. Even though I love ramping the health aspect of recipes up, I will definitely make this kale chip recipe this way again! and again, and again and again.
It’s not really so unhealthy, after all look at all the kale being consumed! What I did was use actual dill pickles, a little brine and garlic to flavor these. Here’s the recipe so you can get addicted along with me. 
Dill Pickle Kale Chips Recipe
Ingredients
1 bunch Kale
½ cup Cashews
2 Dill Pickles
¼ cup Brine from dill pickles
2 tsp Onion powder
1 Garlic clove
½ tsp Salt
Directions
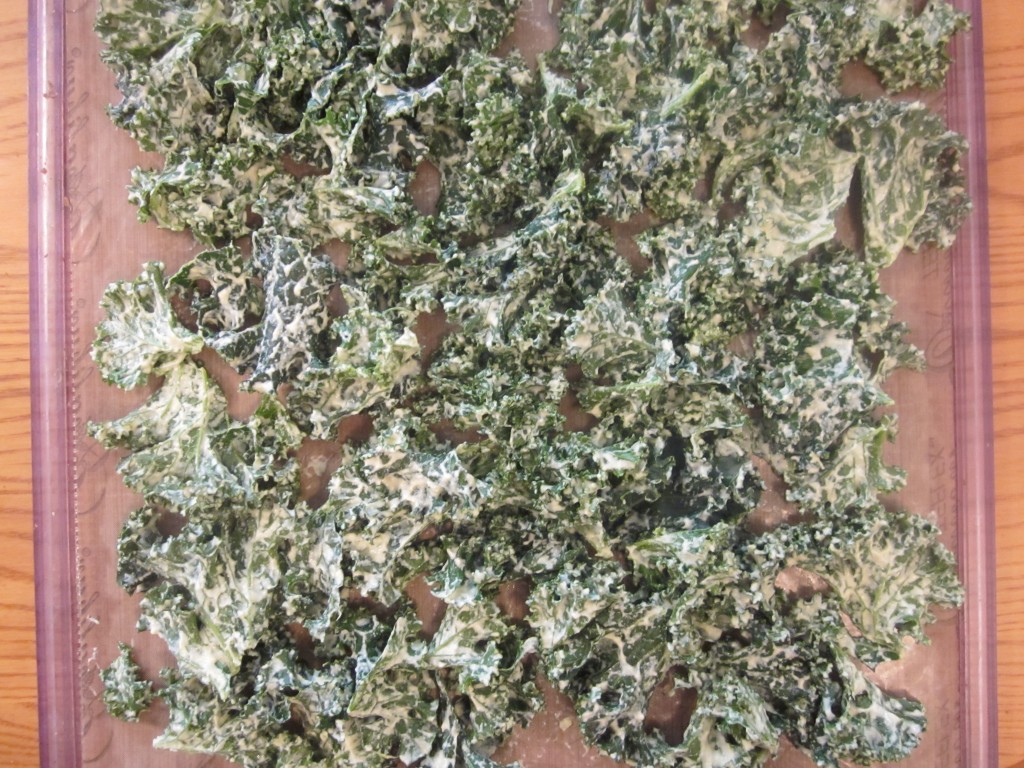
Wash and remove stems of kale. Let drain well or pat dry with a clean dishcloth. Blend all ingredients except kale, adding just as much water as necessary to blend ingredients until smooth. Pour the blended ingredients over kale leaves and massage into kale with hands. Lay kale out on teflex sheet and dehydrate at 115 degrees for 4 to 6 hours. Then flip the kale over onto a mesh screen and continue dehydrating until dry.
This time is variable depending on how wet the kale is, it can take a few more hours if the kale is very wet to start with. For this recipe, dehydrating a couple hours longer will not hurt so I often time it to dehydrate them overnight.
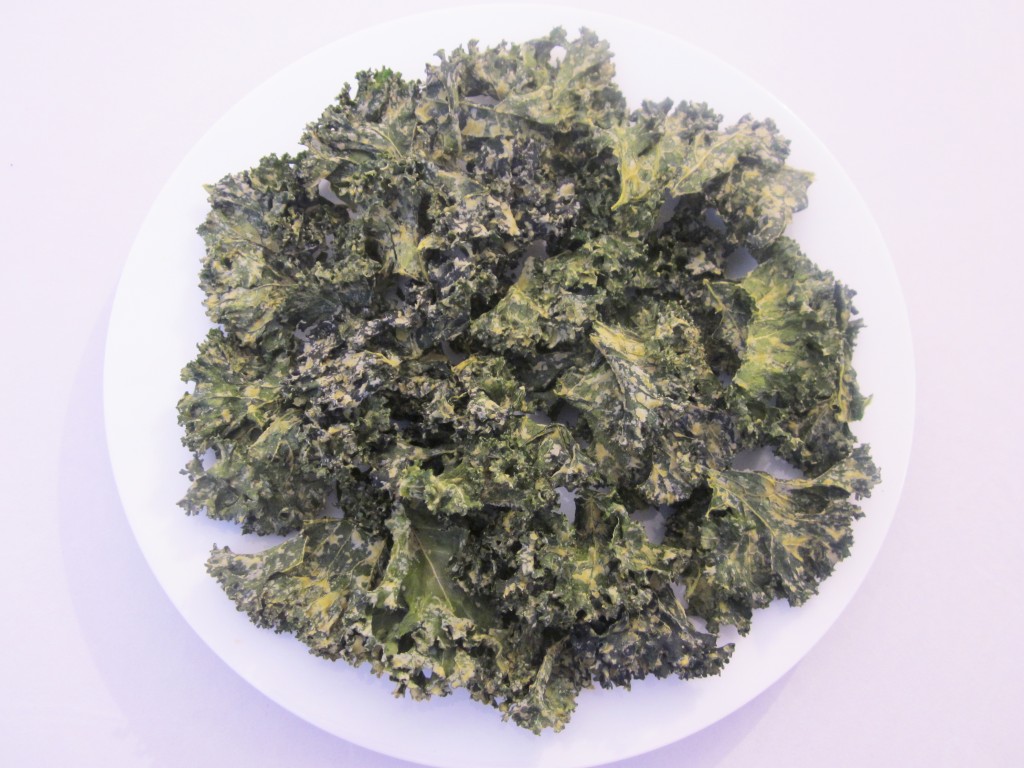
When dry transfer to a bowl or a bag or re-sealable container to store. They will last a month. Well, mine only lasted a day.
Photo Description
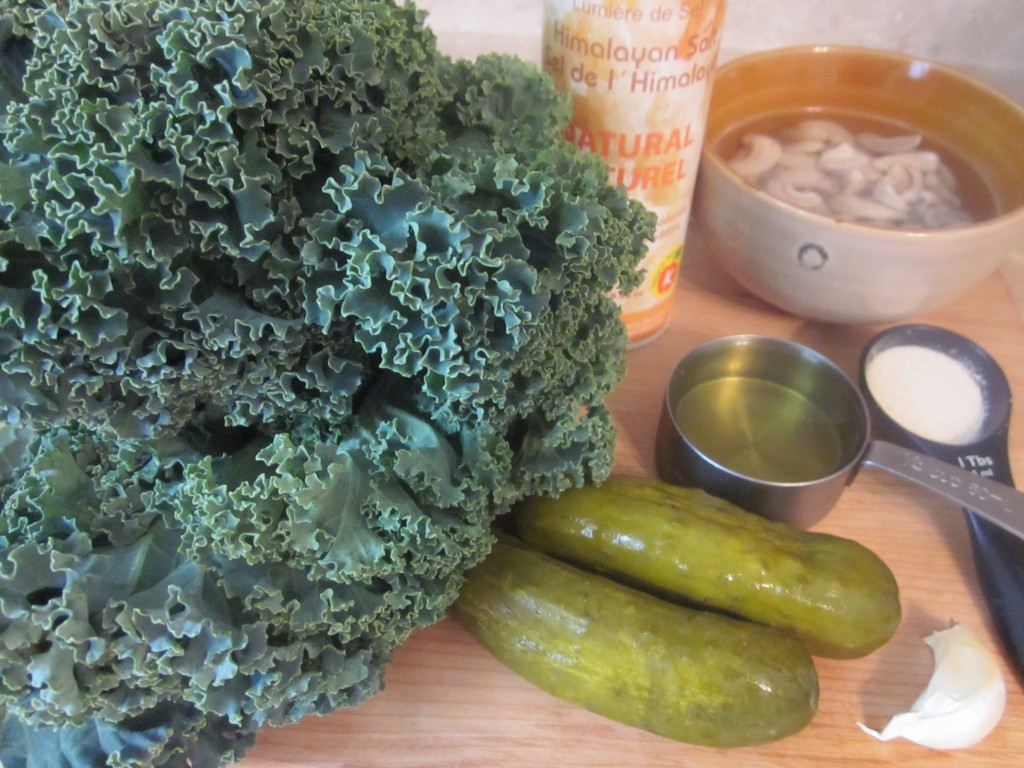
Assemble ingredients
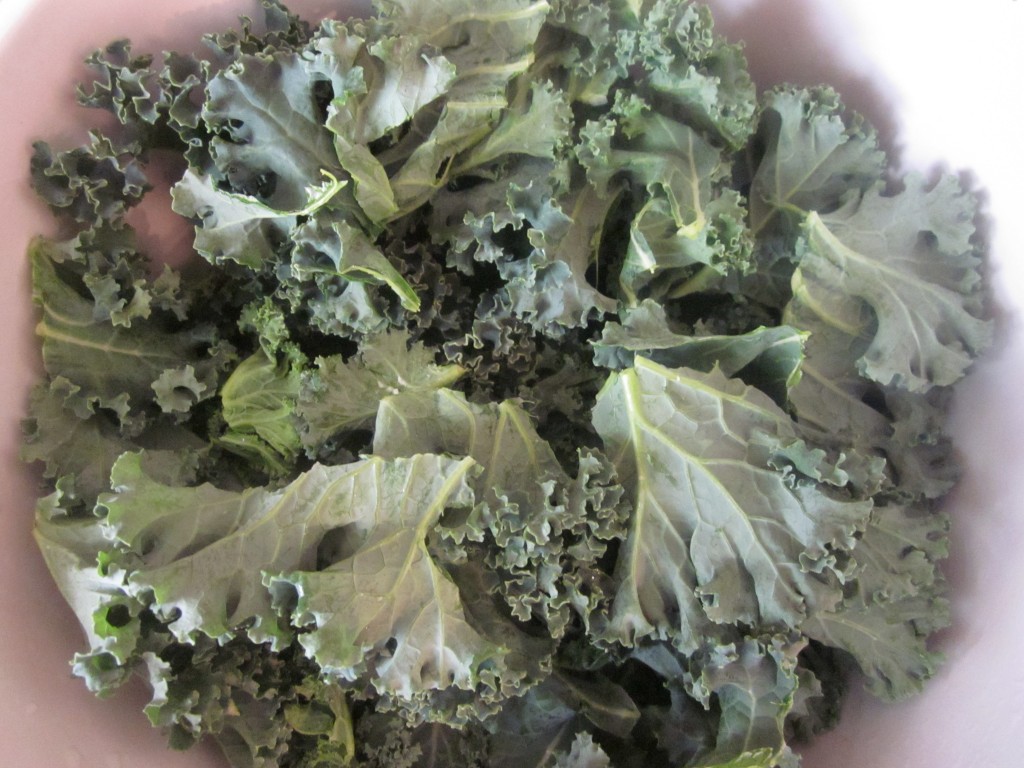
Wash and destem kale. I also tear biggest leaves into smaller pieces, but keep the pieces quite large.
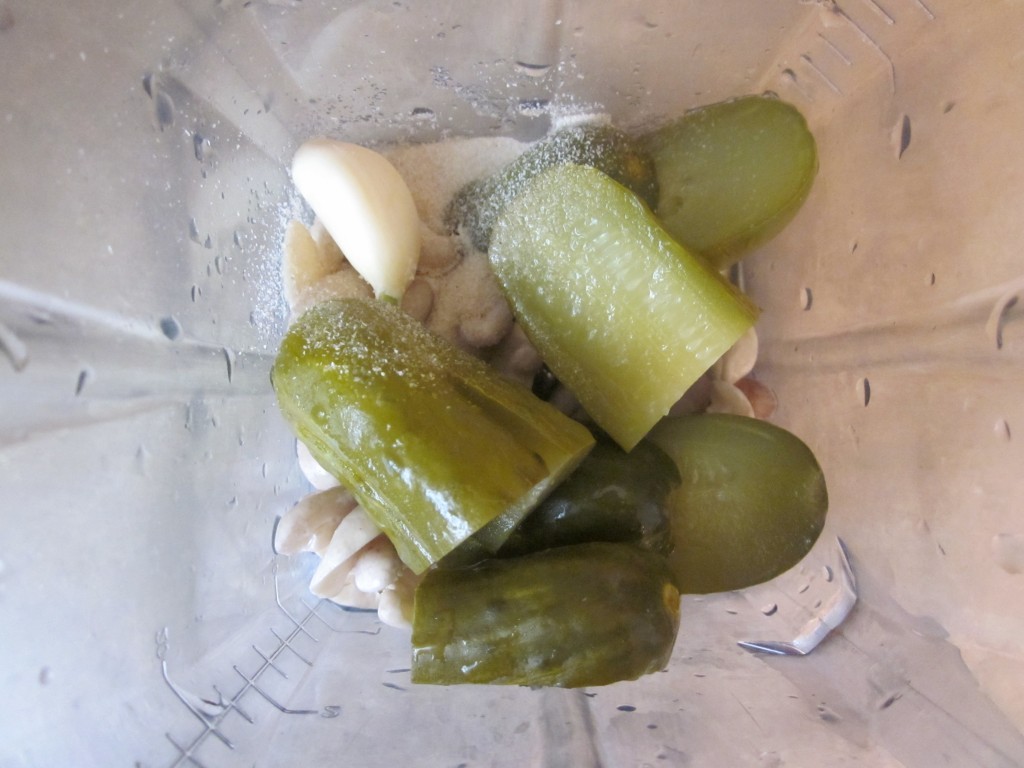
Place all ingredients except kale in the blender.
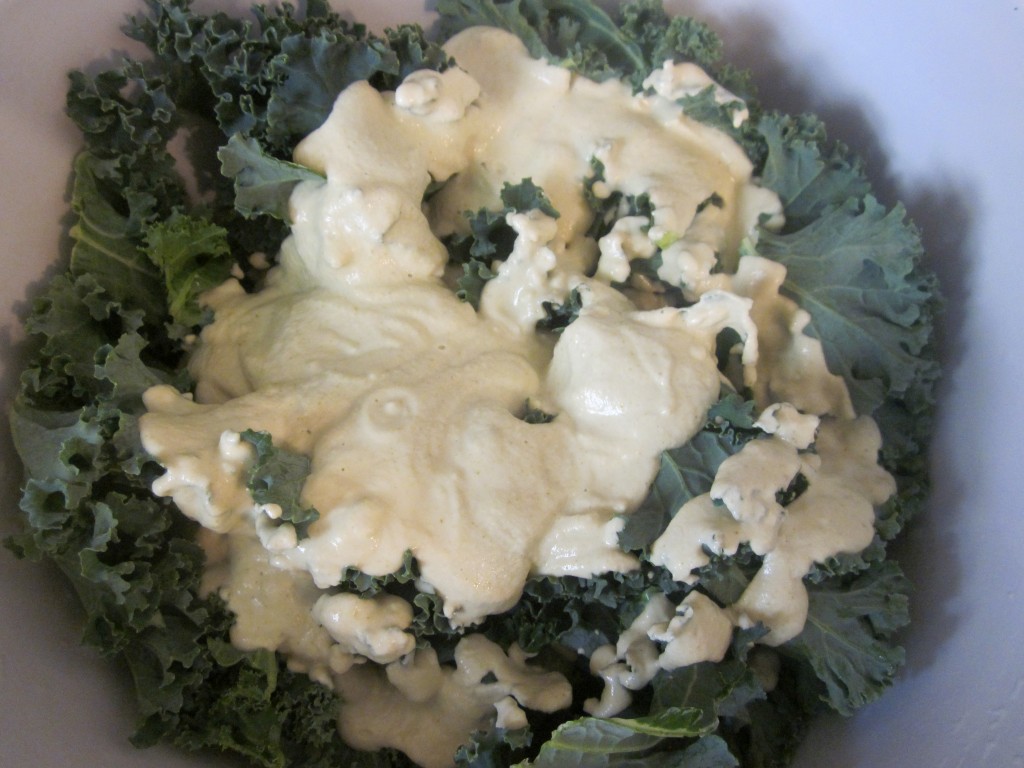
Blend and then pour the blended mixture over the dry kale leaves.
Massage the blended mixture into leaves to coat them. I do this with my hands, a little messy but it works great. Then lay kale out on teflex sheets and dehydrate until dry and crispy.
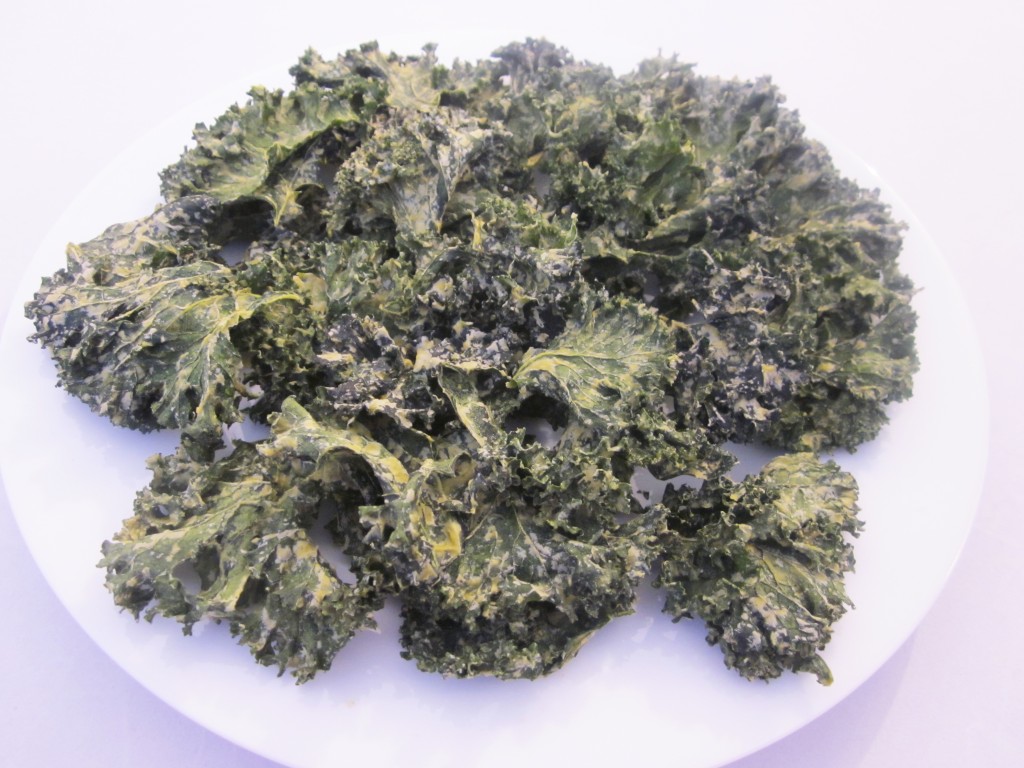
Transfer to a plate, and share with your best friends. ..or everyone. Make lots!
