How to make Kombucha Tea, Kombucha Recipe and Kombucha Benefits
2013
This kombucha recipe is very easy to make and once you learn how to make it, it requires little care and is quite easy to keep it going. You only need a few ingredients and pieces of equipment to get it going. The most essential of these are a healthy scoby (see below) to get it started and a big glass jar to ferment your kombucha in. Kombucha has a huge list of health benefits and some cultures consider it a cure all for everything. It’s generally an acquired taste and has a love it or hate it appeal, but there’s no denying it is a very fascinating drink. Come join me in the kitchen and I will show you how to make kombucha.
What is Kombucha?
Kombucha is a lightly effervescent tea that has been consumed for over 2000 years. It was more commonly found in Russia, northern European countries and China, but in recent years has gained in popularity and now can be found worldwide. Kombucha is fermented using a SCOBY, which is an acronym for Symbiotic Culture of Bacteria and Yeast. This bacteria is good bacteria, and it is actually a close cousin of the ‘mother’ used to make vinegar. Kombucha is made by adding sugar, but the yeast from the scoby eats, or uses up, the sugar in the fermenting process, transforming the tea and giving it its characteristic light fizz. Kombucha is relatively low in sugar and calories with an estimated 30 calories and 2 grams of sugar per 8 ounces. Not bad, and its health benefits make up for that. Kombuchas biggest perk, especially for vegetarians, may be that it is very high in feel good B vitamins, especially B6 and B12.
About bacteria
Bacteria has gotten a bad rap. Many people have a negative attitude towards all bacteria, they just hear the word and it’s automatically labelled as bad in their mind. But not all bacteria is bed. Bacteria is essential and helps us deal with our natural environment. We need bacteria to absorb nutrients and enzymes – vital to being alive and essential to being healthy. Many of our foods are now pasteurized, which kills all bacteria, good and bad. Not only the bacteria but also the essential living enzymes are killed in the process. Drinking kombucha, or eating other fermented foods, and taking probiotics will all help to recolonize the body with good bacteria.
The bacteria found in all fermented foods is good, and lowers the amount of bad bacteria in your body. Many people today have a vast surplus of bad bacteria. The bad bacteria feeds on sugar and will give you sugar cravings. Often instead of a sweet tooth what one may have is an overabundance of bad bacteria. Good bacteria combats this and lessens those sugar cravings. Also an abundance of good bacteria will create a more alkaline ph in your body, highly beneficial for creating glowing health, and atmosphere where disease can not survive.
Kombucha Benefits
Kombucha helps to bring the body back into balance and to its natural state of being, so that it can heal itself naturally. Kombucha has been widely studied and while some, mostly in the west, claim that kombucha does nothing and can even be harmful if it is made with a moldy or unhealthy scoby, others claim that it has a broad range of health giving benefits.
These are some of the most popularly claimed benefits:
Provides the body with healthy bacteria, natural probiotics
Boosts immunity
Alkalizes the body
Boosts mood
Improves digestion
Lowers constipation
Fights candida
Increases metabolism
Boosts energy
Cancer prevention
High in antioxidants and polyphenols
Lowers blood pressure
Heart healthy, prevents artheriosclerisis
Helps to relieve headaches and migraines
Improve eyesight
Lessens arthritis, gout and rheumatism
Great for the skin, heals exema
Heals ulcers
Boosts cell regeneration
Lowers glucose levels
Detoxifies the body
Come join me in the kitchen. I’m starting another batch and will share my kombucha recipe and show you how to make Kombucha!
Kombucha Recipe
Ingredients
Scoby culture from previous kombucha tea batch
1 cup Sugar
4 to 5 tea bags
Water
Directions
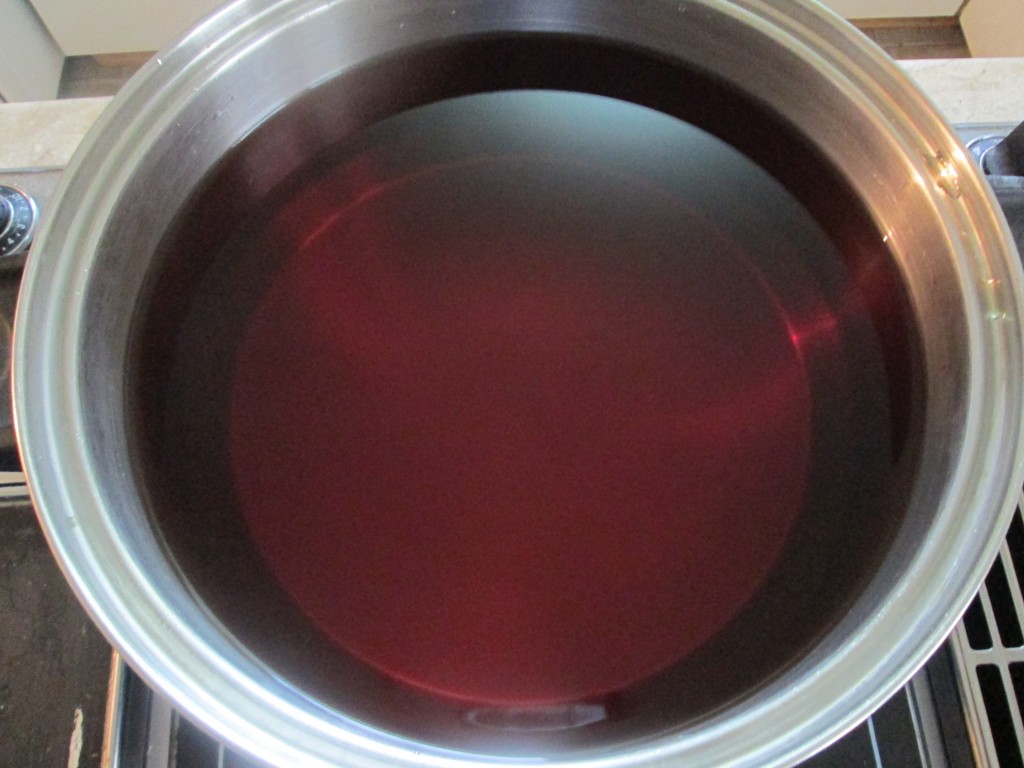
Bring 2 liters of water to a boil. Remove from heat and add 1 cup of sugar. Stir until sugar dissolves and then add 4 to 5 tea bags and let steep for 3 to 4 minutes. Remove tea bags. Add another 2 to 3 liters water and let cool. Tea should have cooled to at least room temperature before using. I often set my pot out in our back porch where it is generally a little cooler than inside our house.
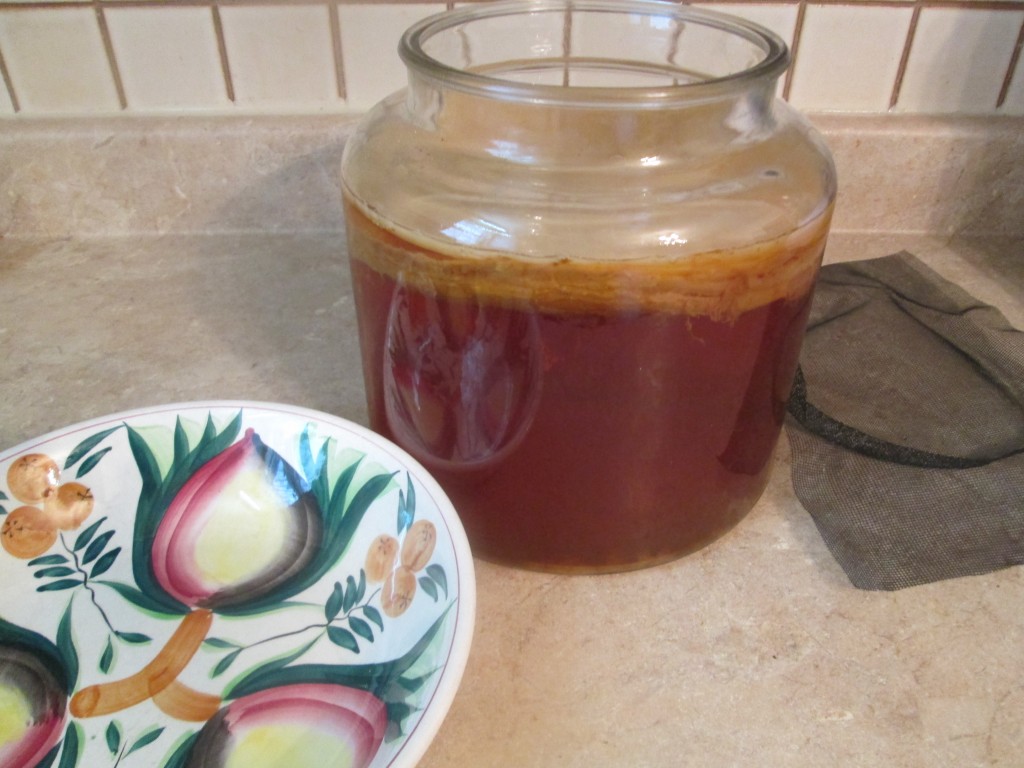
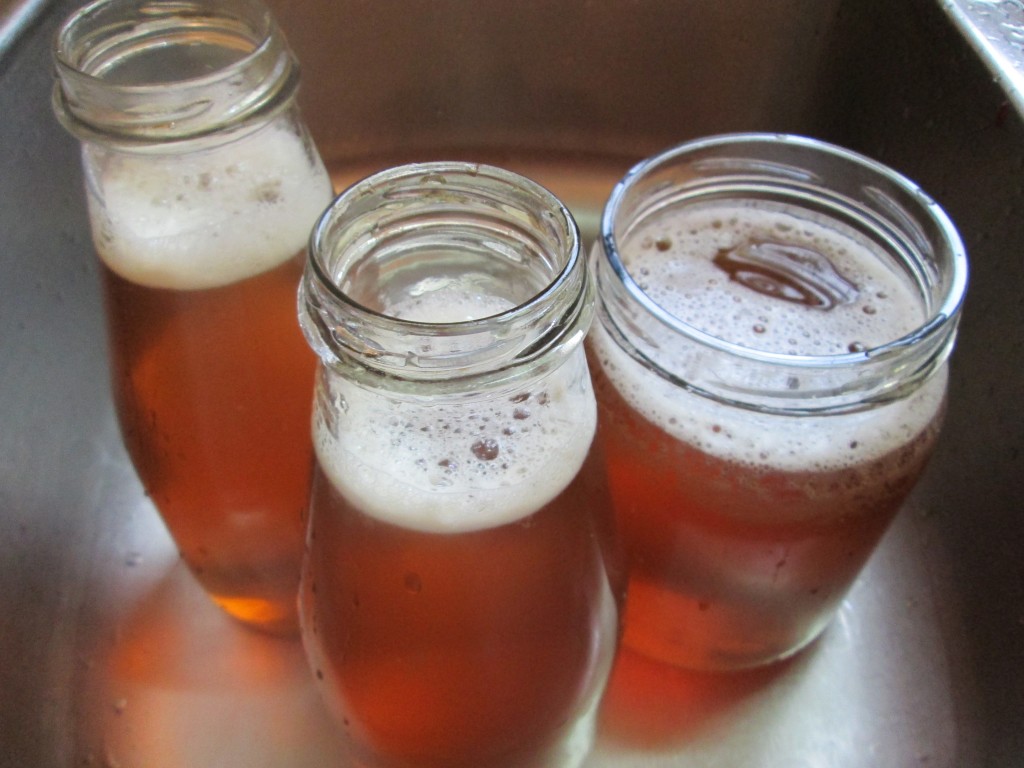
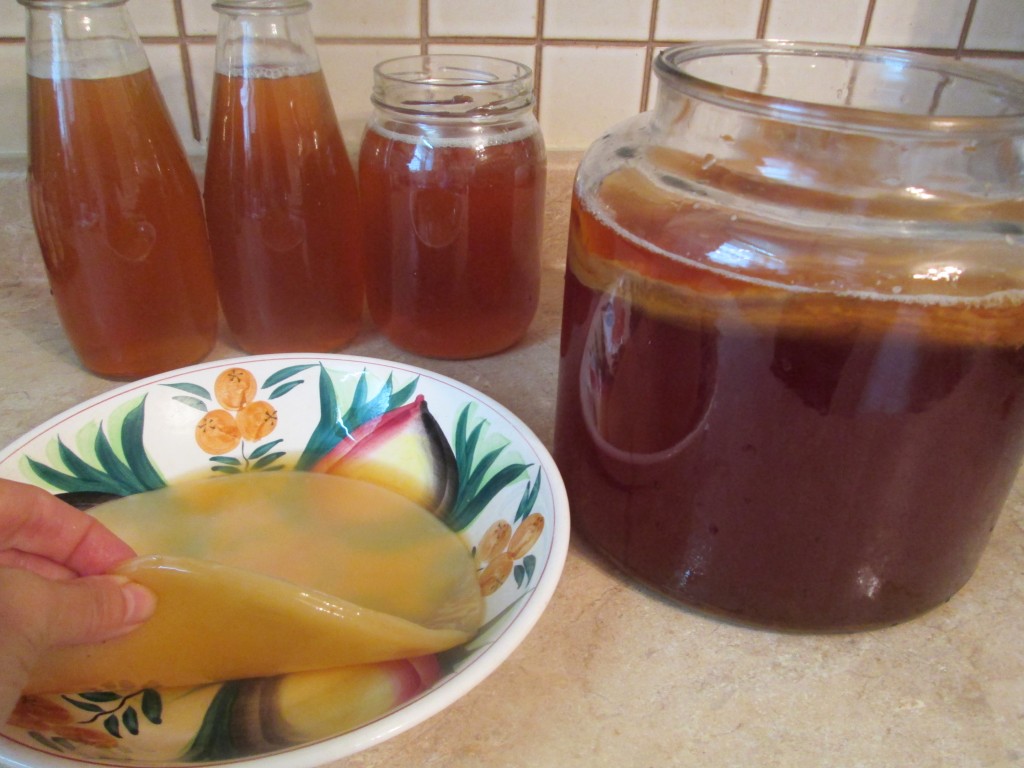
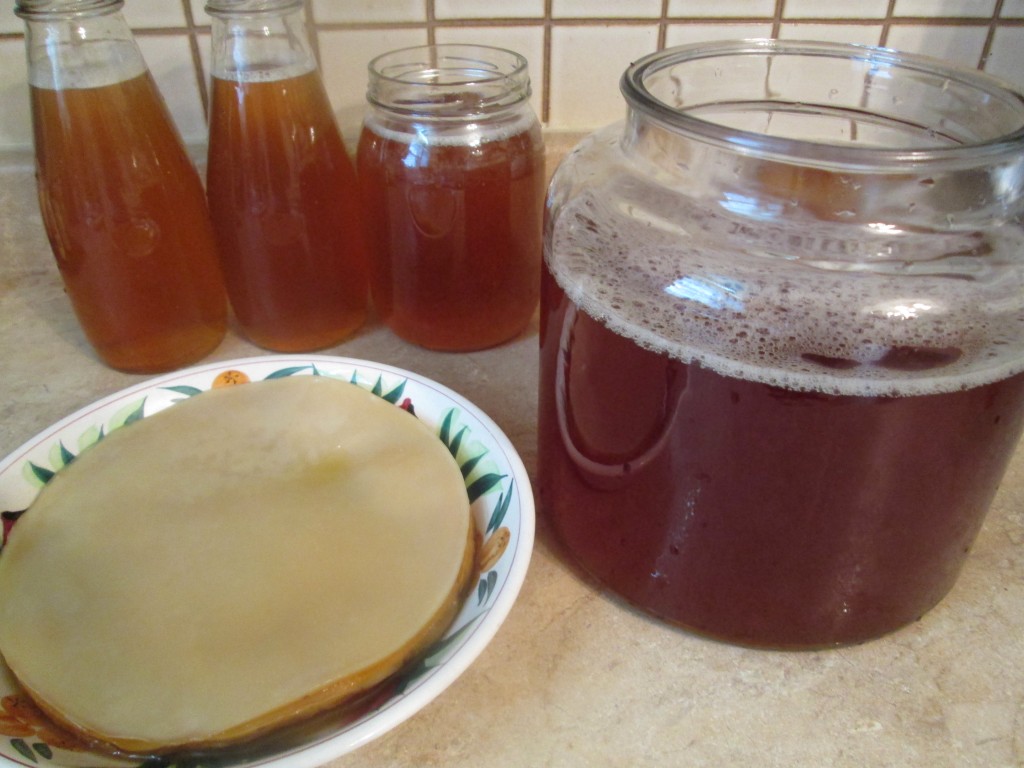
After it has cooled it is time to make a new batch of kombucha. Remove the screen or cheesecloth cover and elastic and transfer scoby to a plate or bowl. Pour finished kombucha tea into clean glass jars. The finished kombucha that you have just poured into jars can be left out at room temperature to ferment even more, or set into the fridge, which slows down the fermenting process. I always refrigerate the jars right away.
Time to make the new batch. Pour some of the previous kombucha, about a quarter or a little less of the previous batch, into a bowl or jar and set aside to use for this new batch. Rinse or wash the glass jar that you will be making kombucha in. Return the kombucha starter tea from previous batch back into the jar. Add the new tea you have just made that has cooled down. Place scoby back on top. If the scoby has grown, as mine did (see pics below), discard or give the mother to a friend to start more kombucha, and use the daughter, underneath scoby for your new batch. Place screen or cheesecloth back on top and secured around neck of jar with an elastic. Return to cool dark place.
Photo Description – How to make Kombucha
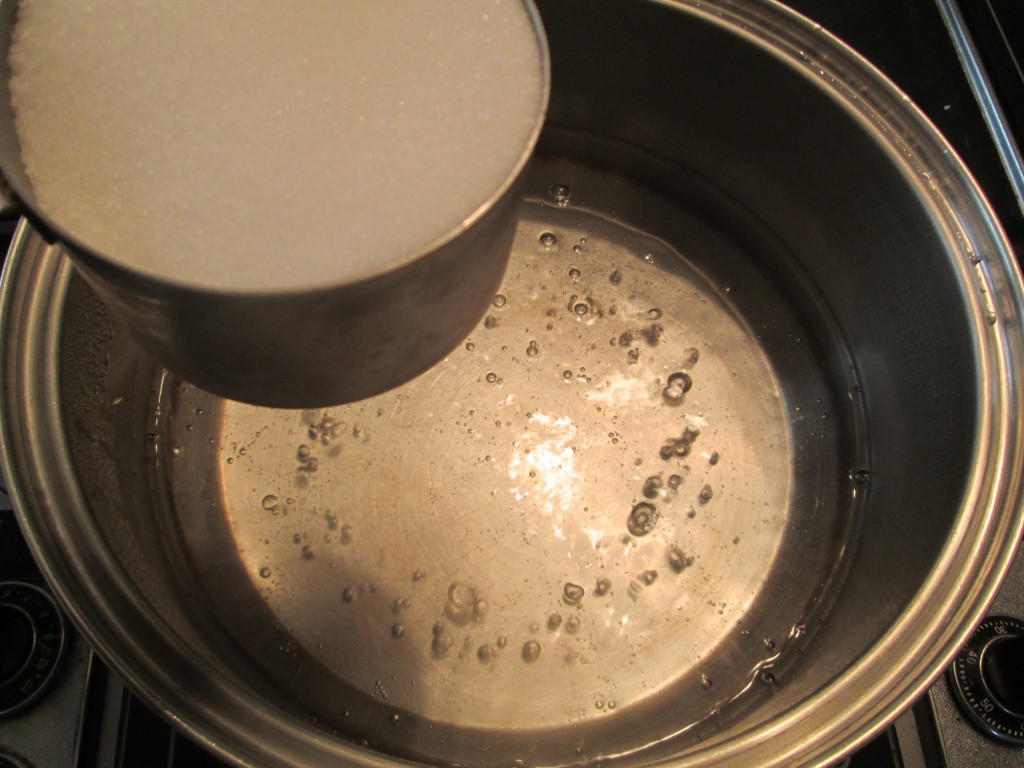
Bring 2 liters of water to a boil. I never measure, so this is a general amount. Then remove from the heat and add sugar.
Note on sugar: this may be the only time you see white sugar in my kitchen. I have a stash just for kombucha. You could also probably use cane sugar. I may next time. I have been playing it safe and making it according to the traditional methods which uses white sugar. Also, from what I have learned the yeast will eat and convert the sugar before consuming anyway.
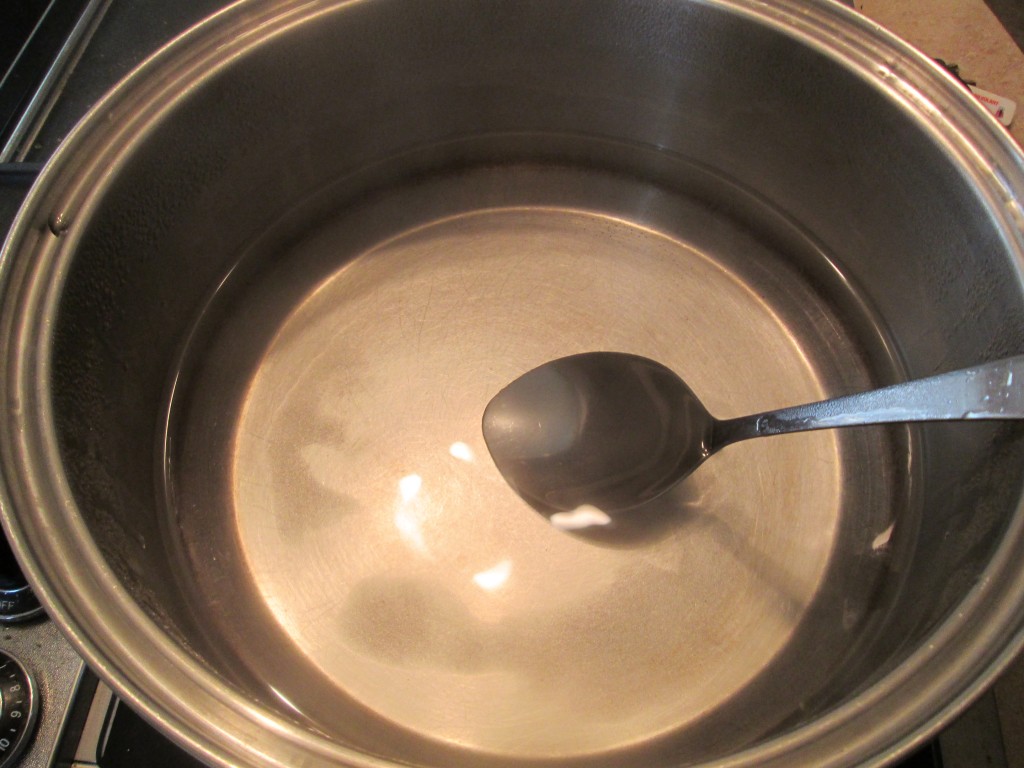
Stir to dissolve sugar.
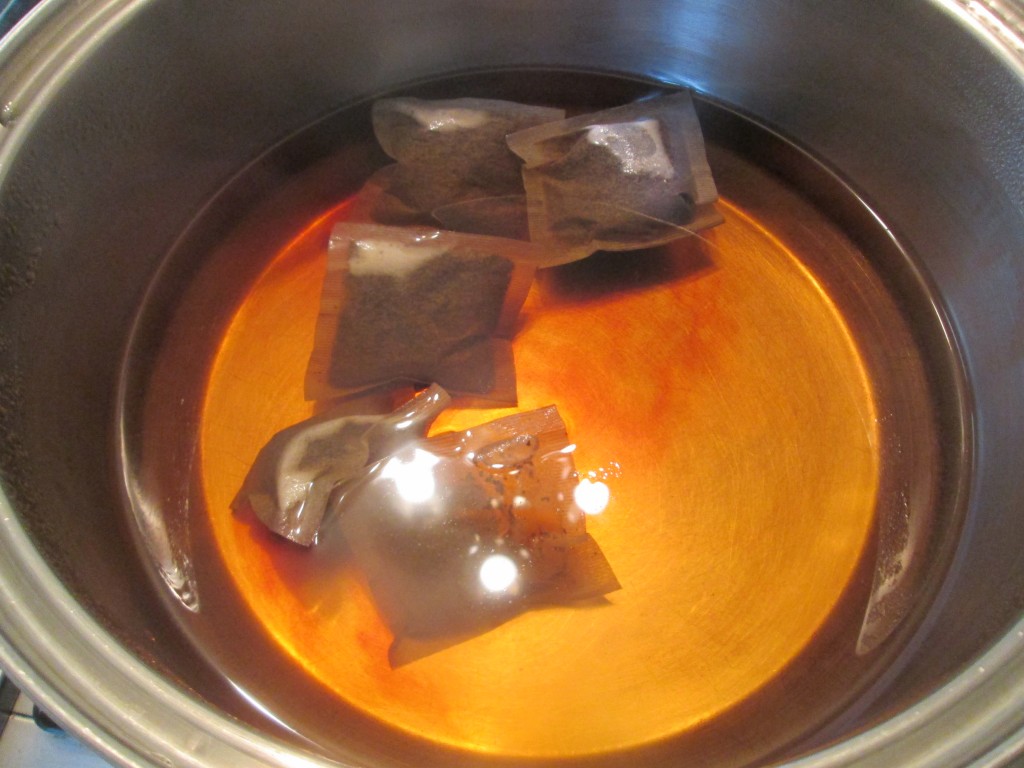
Add 4 to 5 tea bags.
Note on tea – I have a favorite brand that you can only get on the east coast of Canada, King Cole. But any black tea will work. I tried green tea and it didn’t turn out well for me. But I only tried it once and haven’t experimented much with it. I have stuck to black tea since. It works well and I like it. I have tried flavoring kombucha after it was made and had success with that, but another post another time!
After tea has steeped, remove tea bags, add 2 to 3 liters of water to make it over a gallon. Let cool to room temperature. This part can take time, but it must be cool, room temp max. The scoby likes it cool and heat will kill the live bacteria. You can set it to a cooler place to speed cooling process. I often will set the pot in our back porch which can be cooler. I also sometimes make it the night before and let sit overnight to cool.
The ideal temperature for kombucha is between 74°F to 85°F (23° to 29° C)
When your tea is cooled it is time to bottle and make more kombucha.
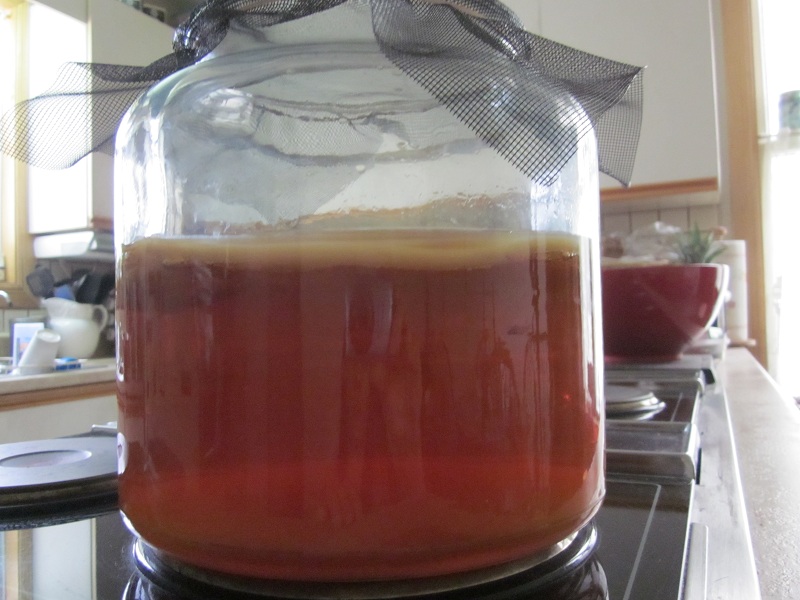
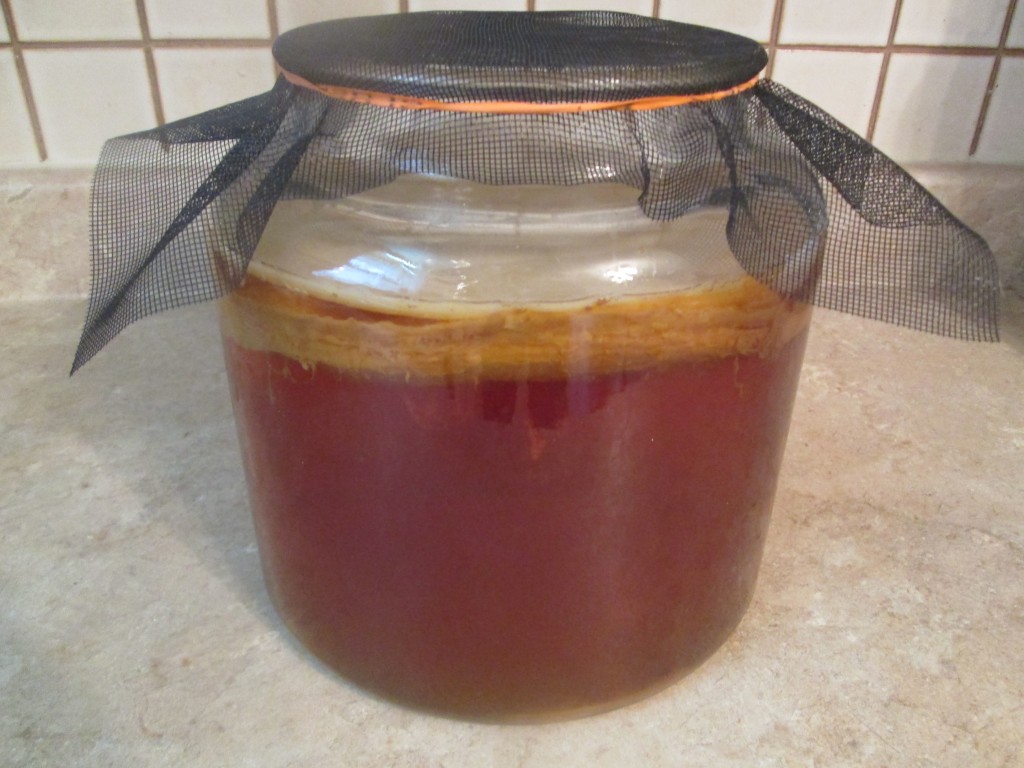
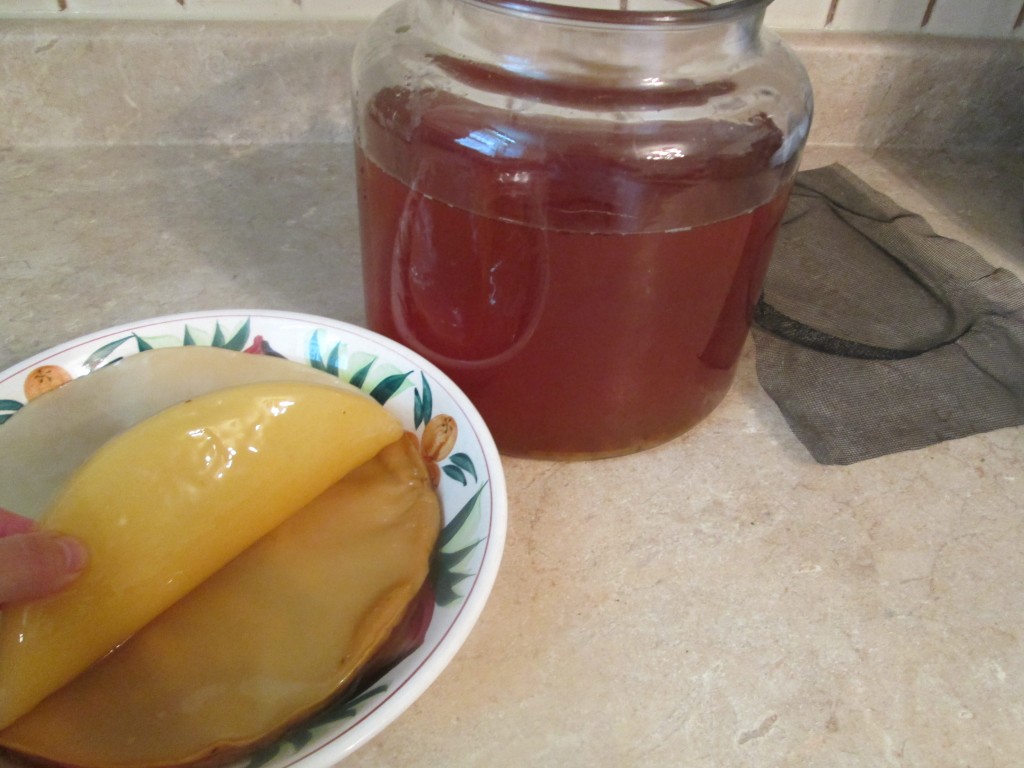
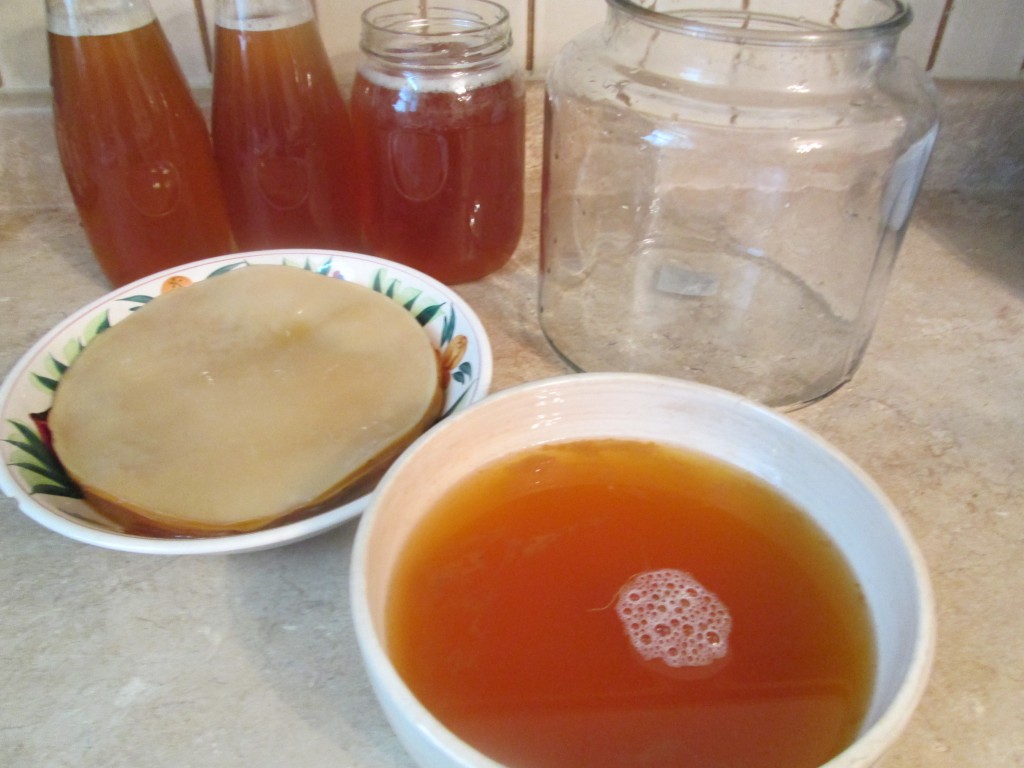
Splitting the scoby: mother and daughter. This is my previous batch and I waited just for this batch so you could see the process of splitting the scoby. The scoby grows with each batch and you can see here that the scoby is quite thick. A new batch of kombucha is started from a culture from a previous batch. To start making kombucha you need to get a healthy scoby from someone first. I split mine about every 3 batches.. The top thick harder layer is called the mother. You can give the mother to a friend to start a new kombucha batch, or discard it. I love to share whenever possible, but often ours goes in the compost bin – good enzymes, healthy soil! I then use the daughter, the softer underneath layer for my next batch.
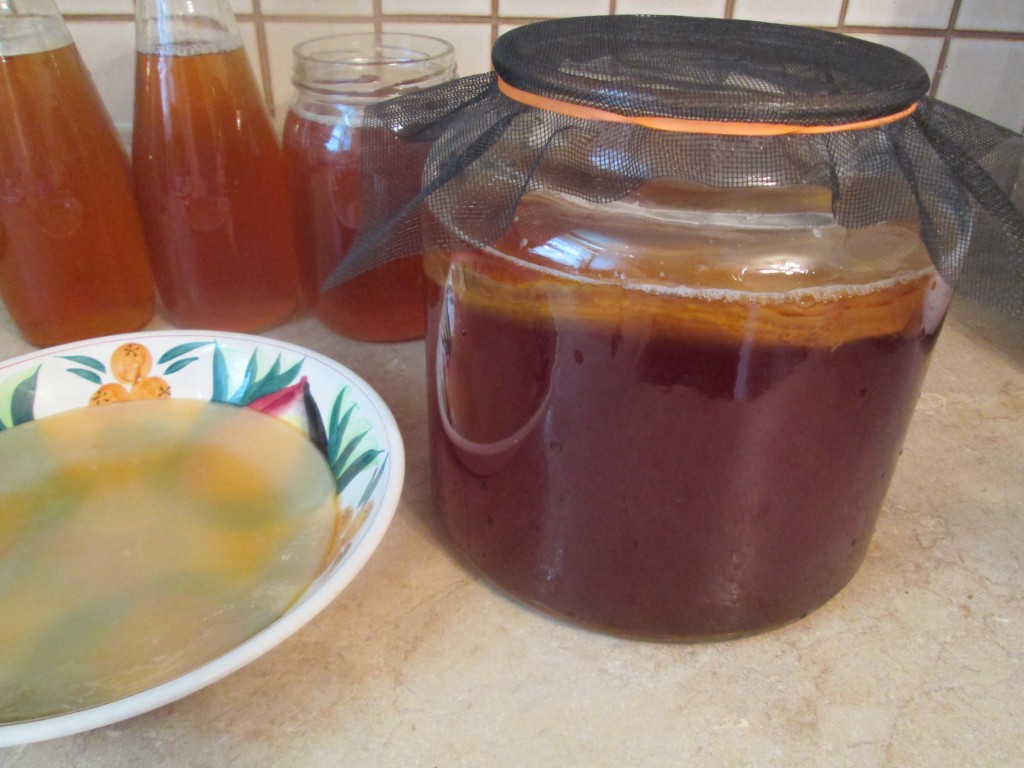
Uncover the scoby. I am using a mesh screen, like the screen used on screen doors, but a porous, cheesecloth type fabric would work as well. I find the screen works very well and easy to wash periodically. It is held securely over the top of the jar with an elastic band. Easy. My glass jar holds one and a half gallons.
Have a shallow bowl or other clean container to transfer the scoby to. Lift it out and set it in the bowl.
Pour kombucha into containers.
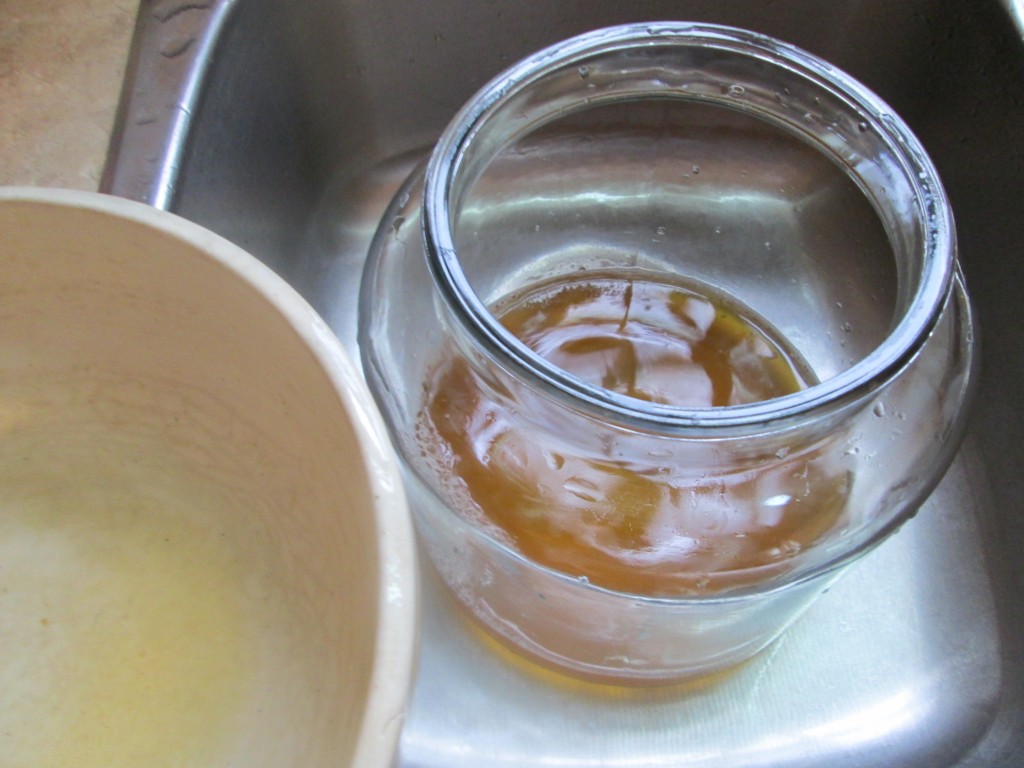
Make sure to leave some kombucha to add to the next batch. I usually leave close to a quarter, but you only really need one to two cups. I usually pour out the extra kombucha and rinse the jar. Never wash it with soap. Soap can kill the scoby so I just wipe and rinse well with hot water.
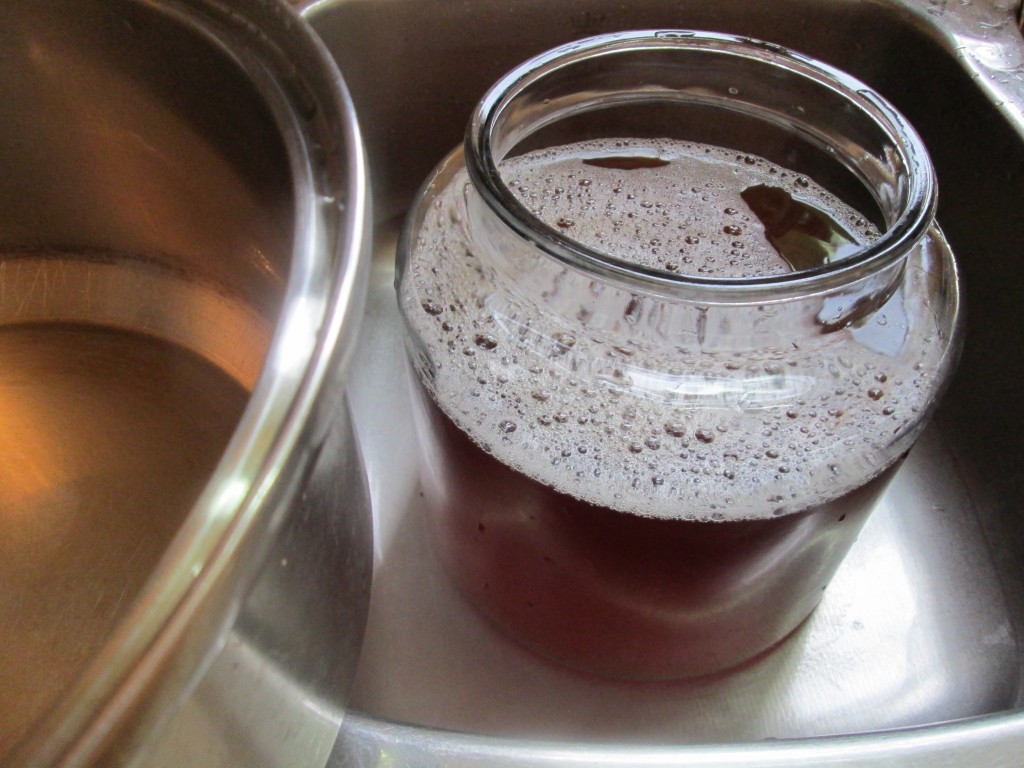
Make sure container is cool again and return the extra kombucha from last batch to the jar.
Add the cooled tea.
Next bring the jar filled with tea back close to the scoby.
Place the scoby back on top of the tea in the glass jar. I am using just the scoby daughter this time. If the scoby is a little diagonal when you first put it in, no worries, it should go back up to its horizontal position on the top within a day.
Cover with mesh screen, secure with elastic and return to a cool dark place. Kombucha does better with some air flow, so finding a perfect home for it is one of the keys to making kombucha successfully.
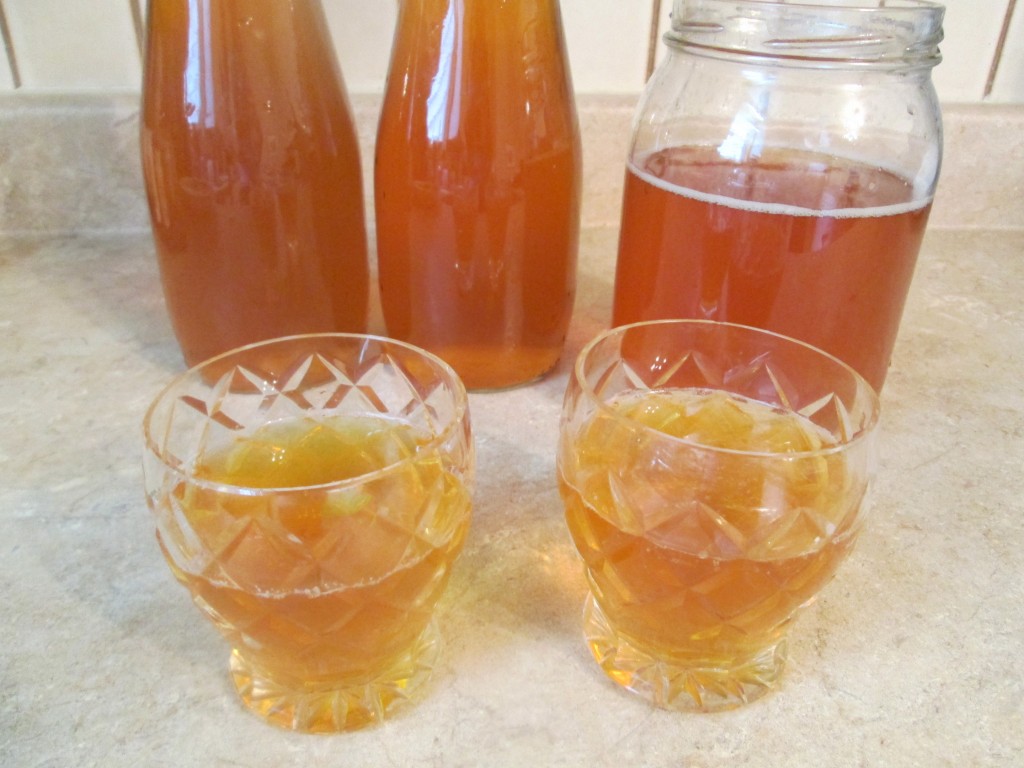
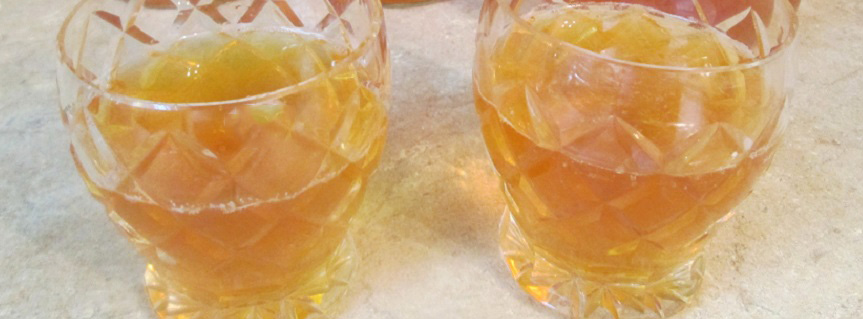
Kombucha tastes best served in special glasses, like crystal or wine glasses. Pour a couple glasses to test and enjoy!!
Cheers!!
